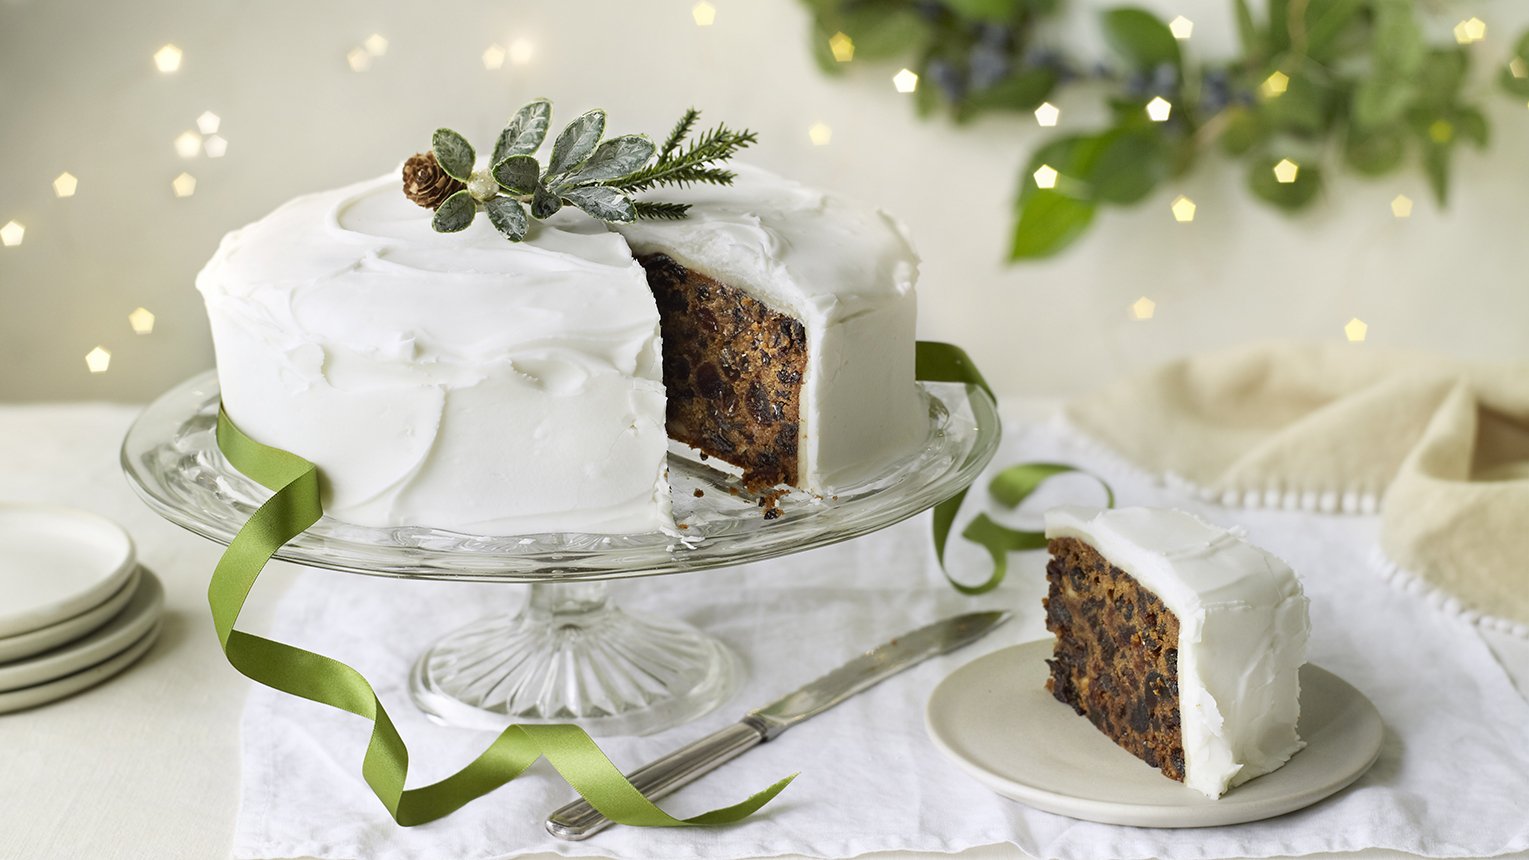
Royal Icing , How'd You Get That Name?
While we in the USA don’t usually cover cakes and cupcakes in royal icing, it’s the perfect hard icing for sugar cookies with its smear-proof finish that will keep your fingers icing-free.
The icing dates to the 1600s, then known as 'Egg White' icing. The name was changed to 'Royal' after it was used to decorate Queen Victoria's wedding cake in 1840.
Queen Victoria's wedding cake, depicted 1840
Royal icing is the classic icing for the Christmas cake – it is ‘royal’ because it was the British Royal Family that used it for their wedding cakes, and naturally if the Royals did it, then we copied it. The icing had been around since the eighteenth century; before that, there wasn’t the technology to refine the sugar appropriately. The first icing was like royal icing, it was spread over the top of the cake but then the cake was returned to the oven to set hard. The result was a nice flat, shiny surface like that of a frozen lake, hence we call the stuff icing. Elizabeth Raffald mentions it in The Experienced English Housekeeper (1769) – the first written recording of the word.
Why would anyone want to change the recipe anyway? Royal icing, though it may be very hard, is perfect for keeping a cake moist. In case you are in any doubt, this story may change your mind.
This 113-year-old wedding cake is believed to be the world's oldest - and was originally on display in the window of a family bakery in Basingstoke
The confectionery was originally on display in the window of a family bakery, in Basingstoke, Hampshire, which closed in 1964.
It had been moved to a loft, where it remained for almost a century, until the baker's daughter donated it to the little-known Willis Museum in Basingstoke.
Museum curator Sue Tapliss said: 'It has been stored in unfavorable environmental conditions, leading to the cake heating and causing the sugars to seep through to the icing, giving it a darker color.
'The baker's daughter, who was unmarried, donated the cake towards the end of her life due to fears someone might discover it in her attic and think she had been jilted at the altar.'
A delicate operation involving two conservators has been carried out and the cake has now been dried using packets of silica gel to prevent further deterioration.
Mrs Tapliss added: 'It underwent conservation work following concerns from museum staff who had noticed a distinct color change.
'Upon investigation using a syringe, the cake was found to be very moist.
'A large crack in the icing, the result of wartime bombing vibration, was in a precarious state due to the weight of the icing pulling away from the cake itself.
'Pieces of Queen Victoria's wedding cake were auctioned off but this is the world's oldest complete wedding cake.'
Mrs Tapliss added: 'We hope that the cake can be enjoyed for a further 113 years.'
Recipe for Royal Icing
Made using only three ingredients, this easy royal icing recipe is great for outlining and flooding sugar cookies, decorating gingerbread houses, adding icing flowers to treats, and other intricate designs.
Royal icing decorations can be made weeks in advance and stored in an airtight container at room temperature for up to 6 months. Though traditionally made with raw egg whites, this royal icing is made without eggs, using Wilton Meringue Powder instead.
Ingredients
4 cups (about 1 lb.) powdered sugar (confectioners' sugar)
5 tablespoons warm water
3 tablespoons meringue powder
Instructions
Beat all ingredients together until icing forms peaks. Beat for about 7-10 minutes at low speed with a heavy-duty mixer or 10-12 minutes at high speed with a hand-held mixer.
At this point, check the consistency of your royal icing. If icing is too stiff, add more water, 1 teaspoon at a time, until desired consistency is achieved. If icing is too thin, add powdered sugar, a little at a time, until desired consistency is achieved.
For stiff consistency: Use 1 tablespoon less water. Stiff royal icing is preferred for making 3-D decorations. With stiffer royal icing, opt for larger piping tips to relieve the pressure on the piping bag.
Medium consistency for icing outlining: Add 1/8 teaspoons of water for every cup of stiff icing. Use a flat utensil like a small angled or straight silicone spatula, to mix icing in a figure-8 motion. Avoid beating or mixing vigorously.
Thin consistency for flooding: To thin for pouring, add 1 teaspoon water per cup of royal icing. Use a grease-free spoon or spatula to stir slowly. Add 1/2 teaspoon water at a time until you reach proper consistency. Use a flat utensil, like a small angled or straight silicone spatula, to mix in a figure 8-motion. Avoid beating or mixing vigorously.
10-second test: Take some icing on a spatula and drop it back down into the bowl to check for the correct thin consistency for flooding. If it sinks after a full count of 10, then the consistency is thin enough for flooding.
Let icing sit for 15 minutes to an hour to let air bubbles rise naturally. Alternately, tap the bowl on the table several times to force the air bubbles up. Gently stir the top surface to release the air.
Use grease-free tools: Keep all icing utensils and bowls completely grease-free for proper icing consistency and to ensure the icing properly sets.
Use Meringue Powder: Meringue Powder is a must for this recipe. Do not substitute with raw egg whites (which can be a food safety issue) or dried egg whites; neither will produce the same results as Meringue Powder.
Don't overbeat: Do not overbeat the royal icing base. This will incorporate too much air, which will create bubbles. Vigorous stirring will also create air bubbles.
Cover with a damp towel: Cover the decorating tip with a warm, damp towel to prevent the royal icing from drying when not using.
To speed up the drying process: Royal icing can take up to 2 hours to dry. Place iced treats in front of a fan to speed up the icing's drying process.
Storage: Store royal icing in an airtight container at room temperature for up to two weeks. Before reusing, re-whip using a paddle attachment on low speed until it's back to the correct consistency.
Never store royal icing decorations in the freezer. Instead keep decorations in an airtight container in a dry, dark place to prevent fading for up to 6 months.


