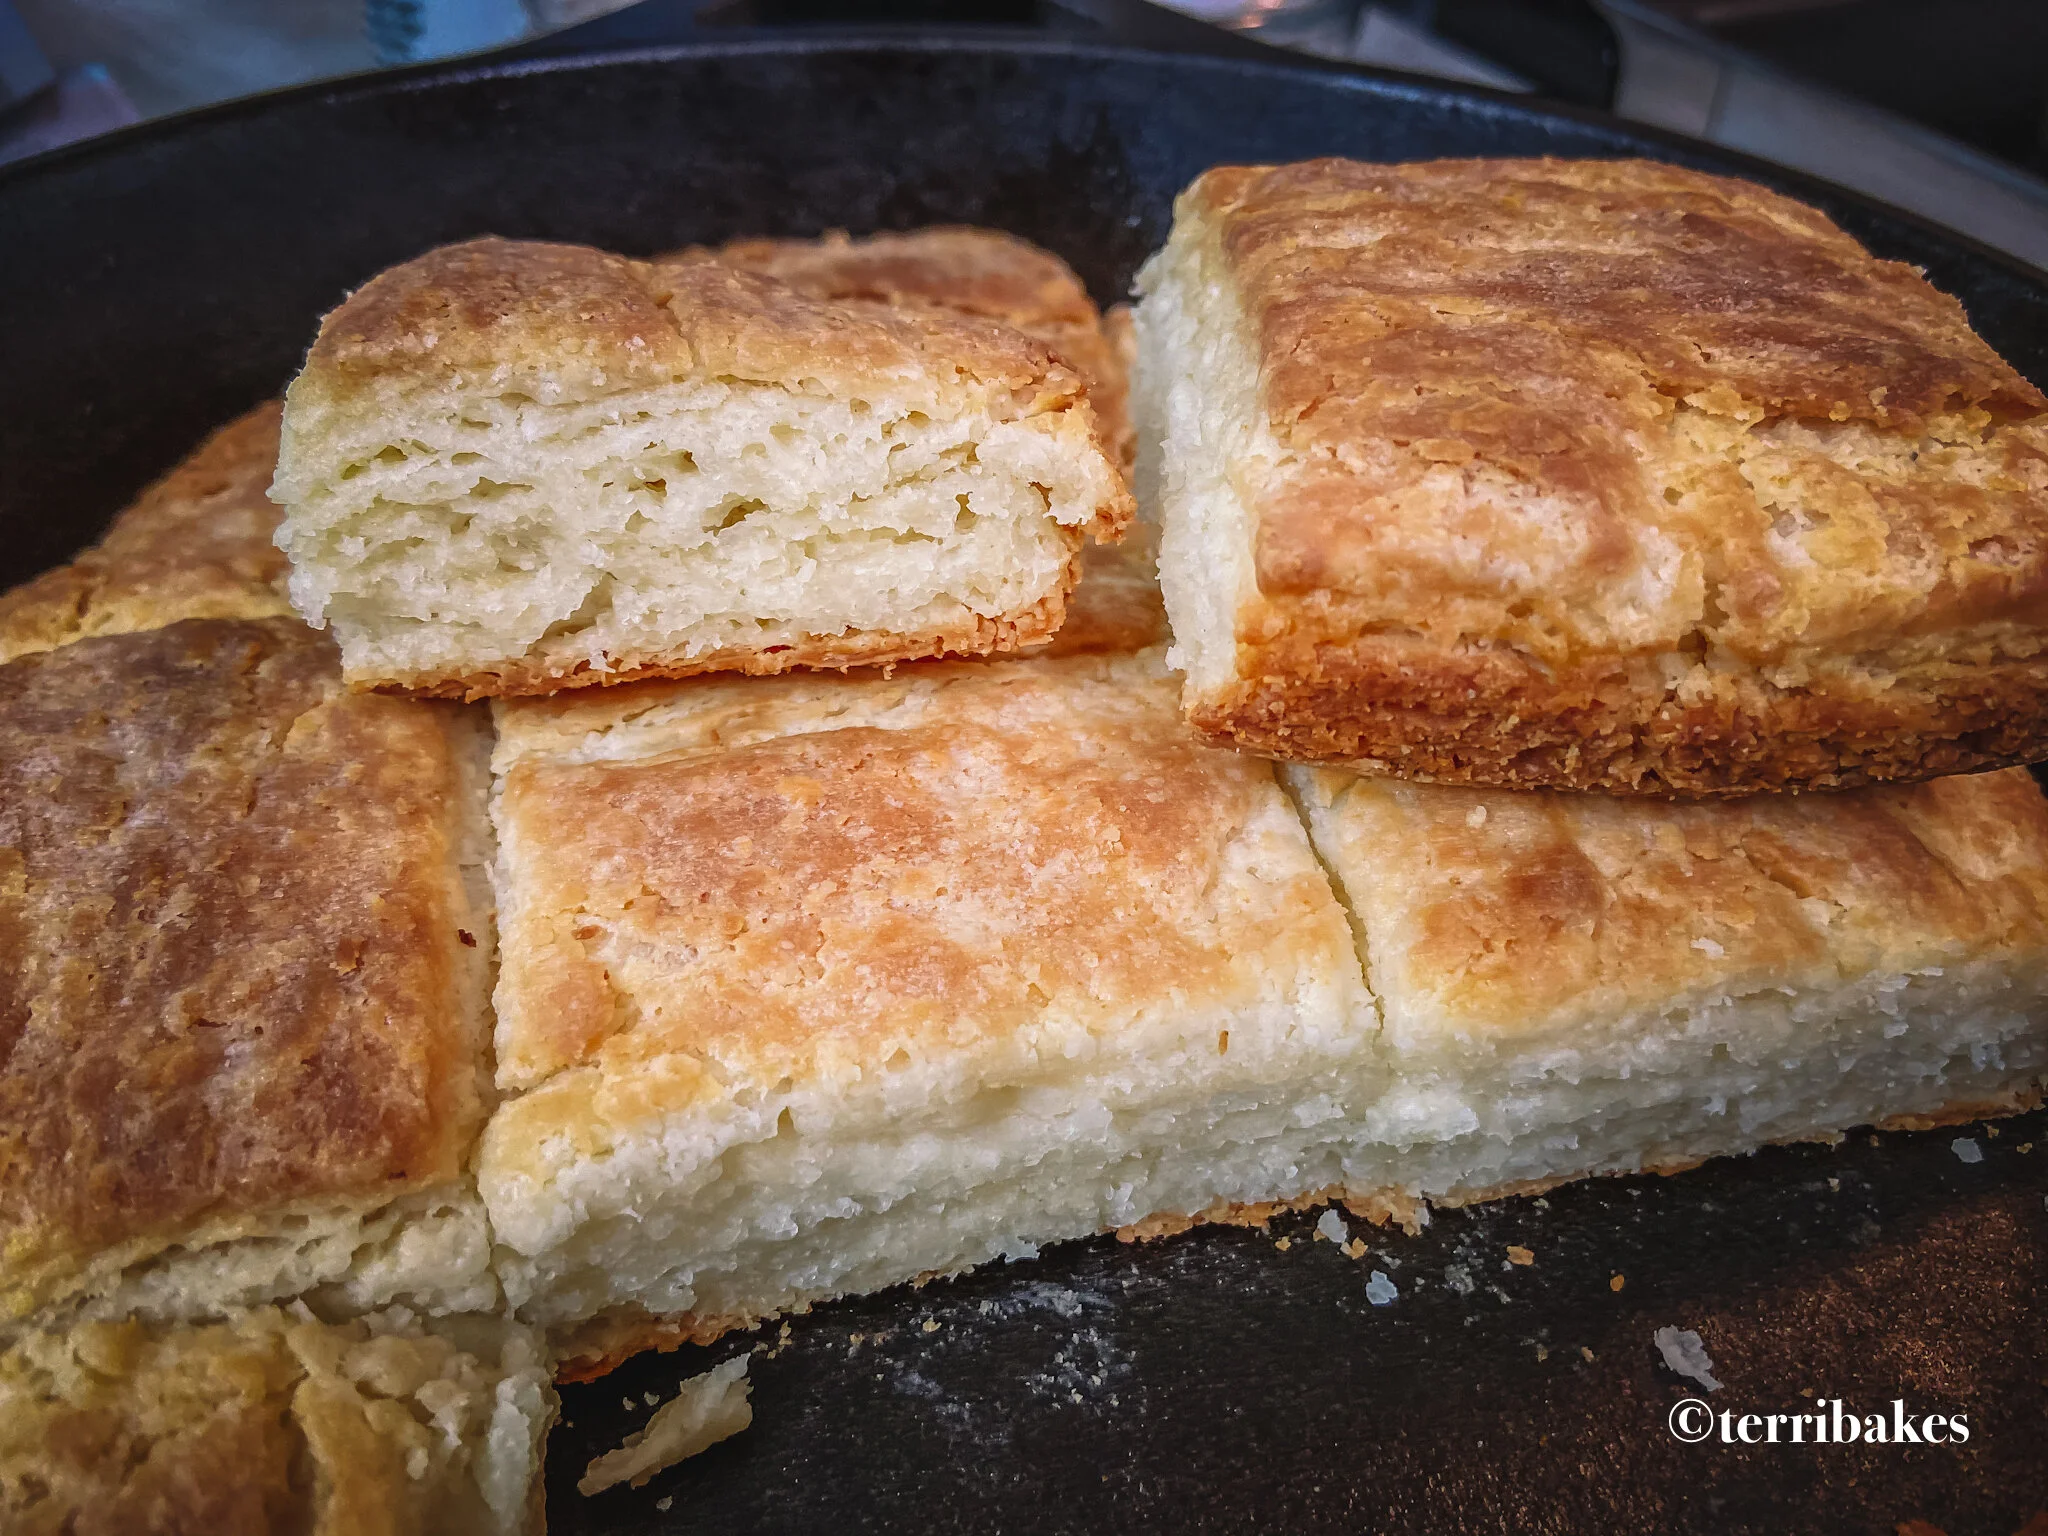
Buttermilk Skillet Biscuits
A History of Southern Biscuits
The term biscuit was originally coined by the British which referred to their thin cookie and cracker like biscuit. According to Southern Living, much different from what it evolved into once it got into the hands of southern cooks. In the pre-Civil War south the biscuit was regarded as a delicacy and usually reserved for Sunday lunch. Or dinner.
Now the cathead biscuit was born out of necessity, they had to get things done quickly, do it simply, make your biscuit dough, and then pull and drop huge clumps of the buttery dough onto your baking sheet.
Then you have the sweet potato biscuit. Sweet potatoes were abundant in the south. they were often used as a flower substitute because flour was really hard to come by. Then you had the beaten biscuit. Biscuit that was sorta built to last all day in your lunch pail. You could put it in your overall pocket. Is not nice and layered and fluffy like the others, cuz it had to be durable.
Soft winter wheat flour was really hard to come by for southern biscuit makers. They had to rely on the port cities on Mobile, and New Orleans, to bring in this product. But when White Lily started making white winter wheat self-rising flour in Knoxville, Tennessee in 1983. It was very much a game changer for biscuit makers.
Here in the south you know, we kind of kept our biscuits really close to home. It wasn't until the good Colonel Sanders of Kentucky Fried Chicken fame took our biscuits out of the south in 1952 when he opened his first franchise, in Utah of all places. Thus, bringing the southern biscuit nationwide.
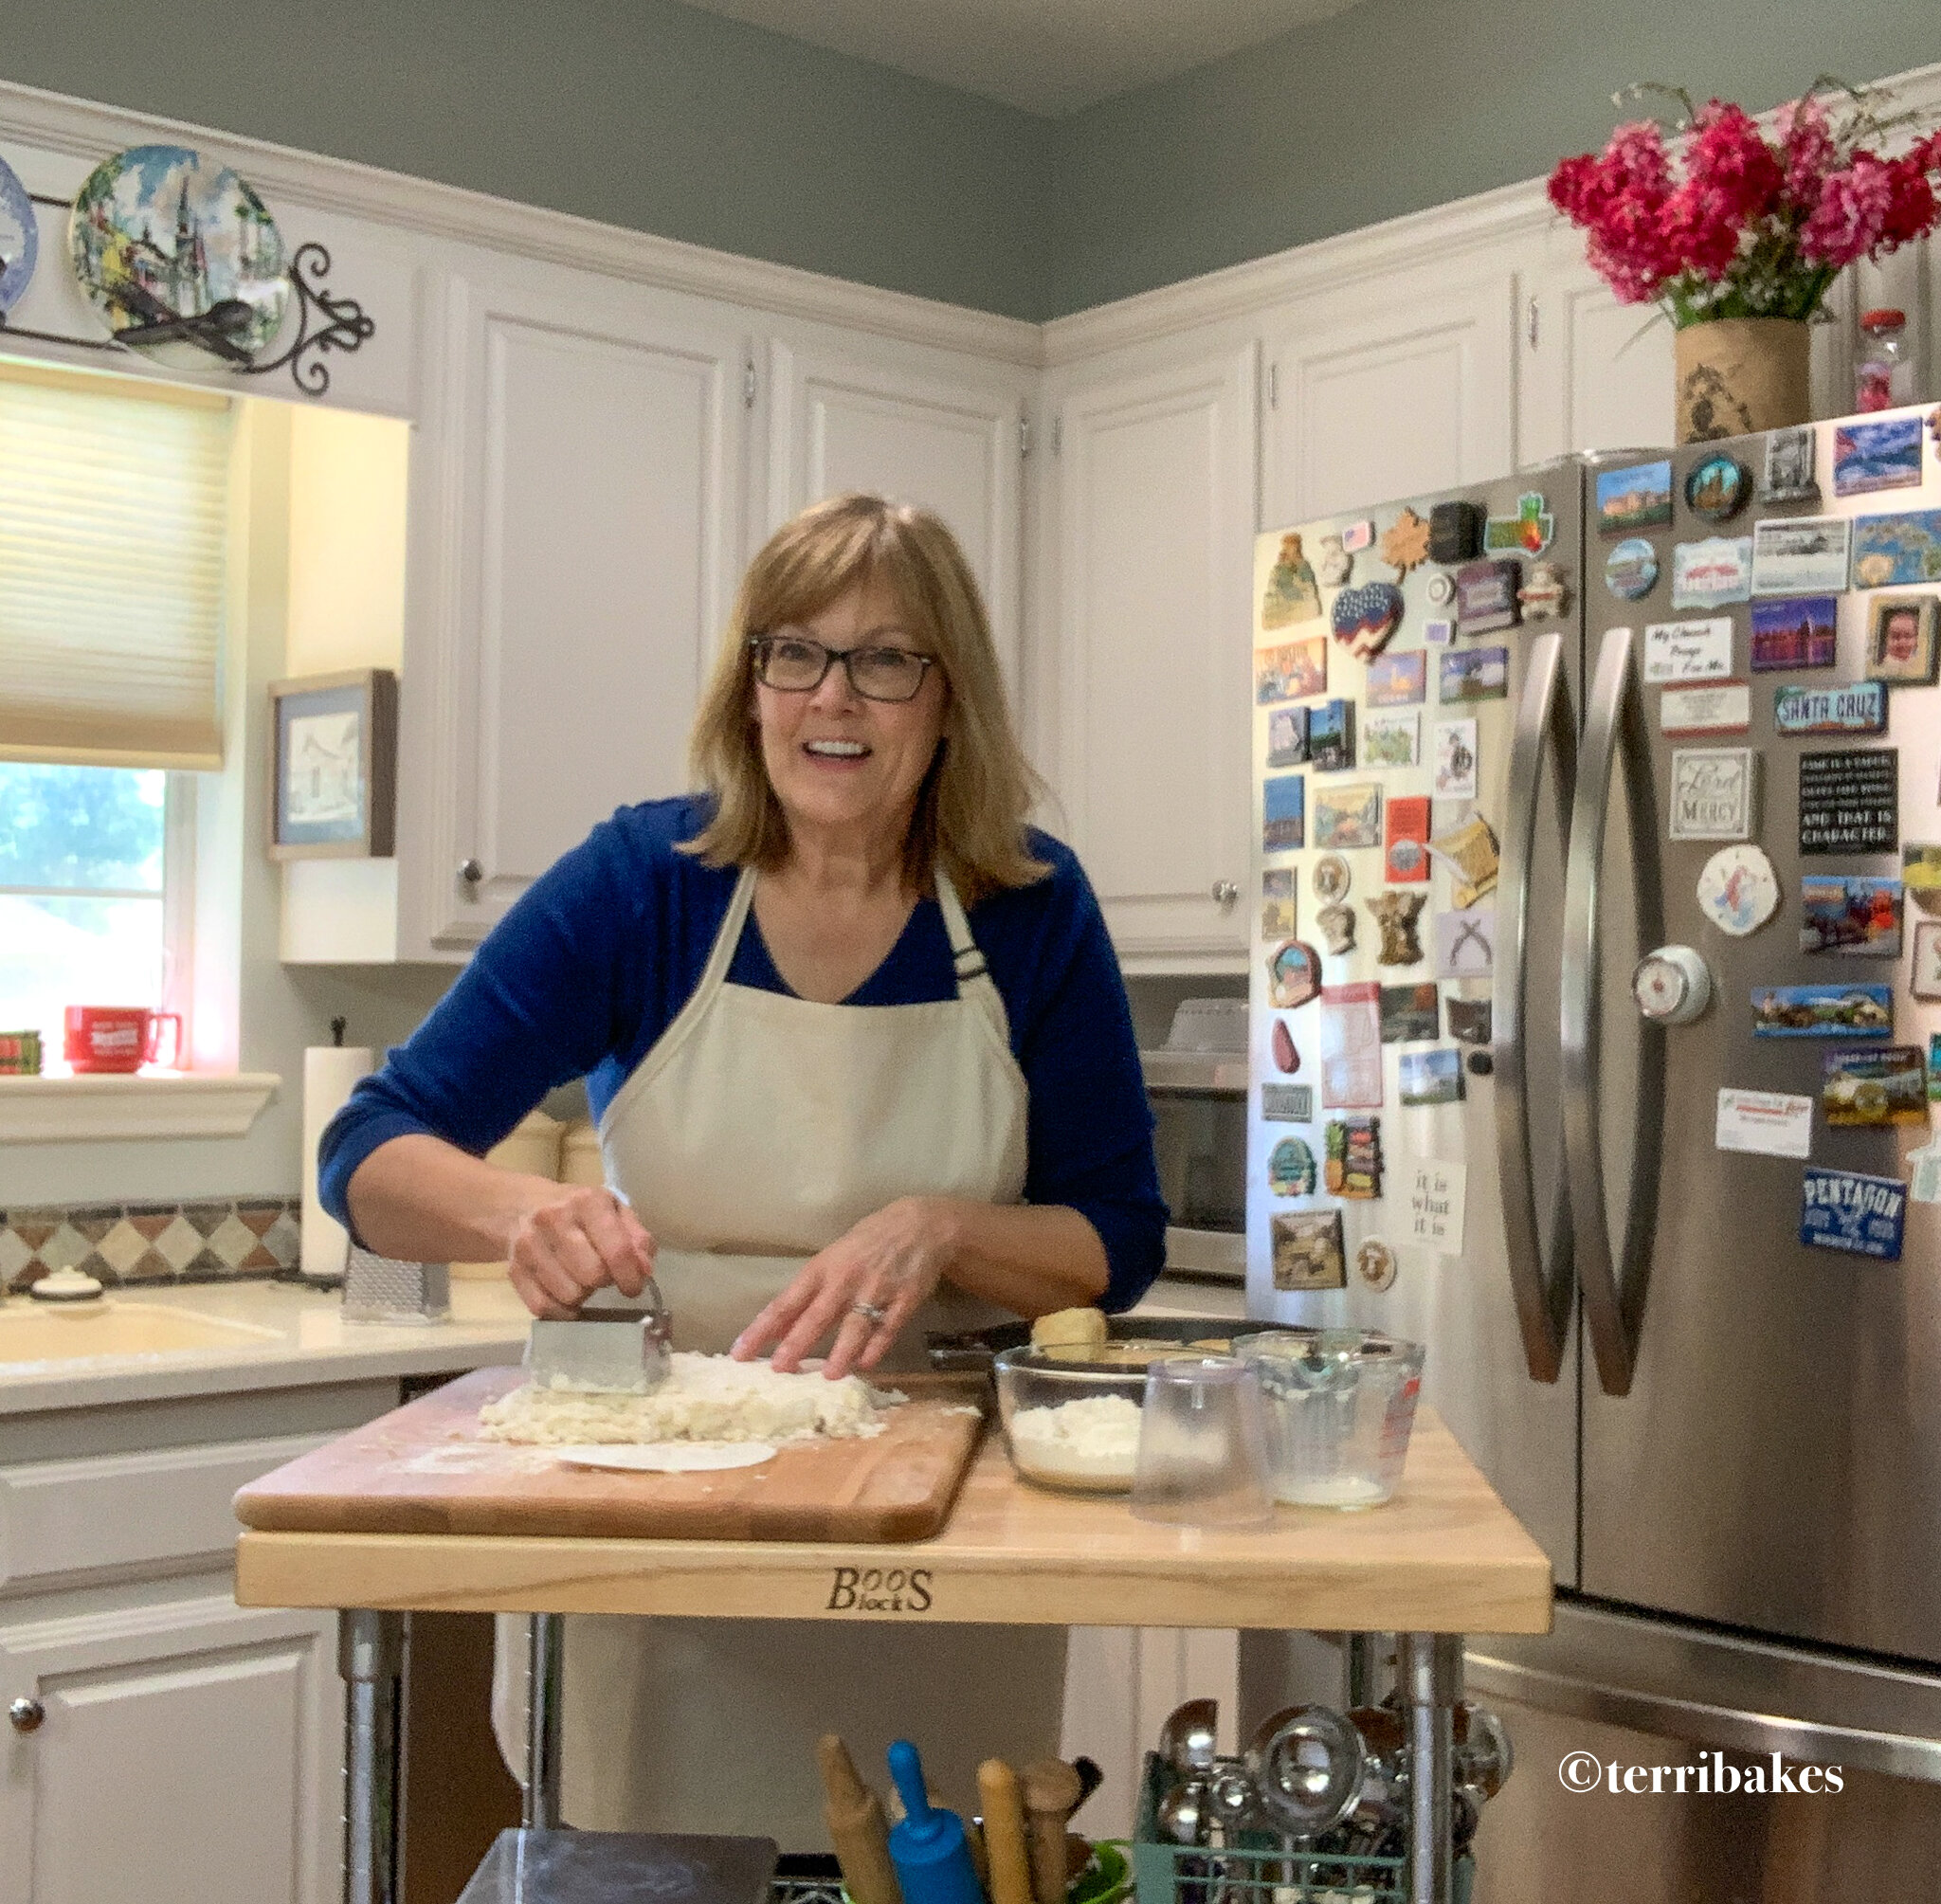
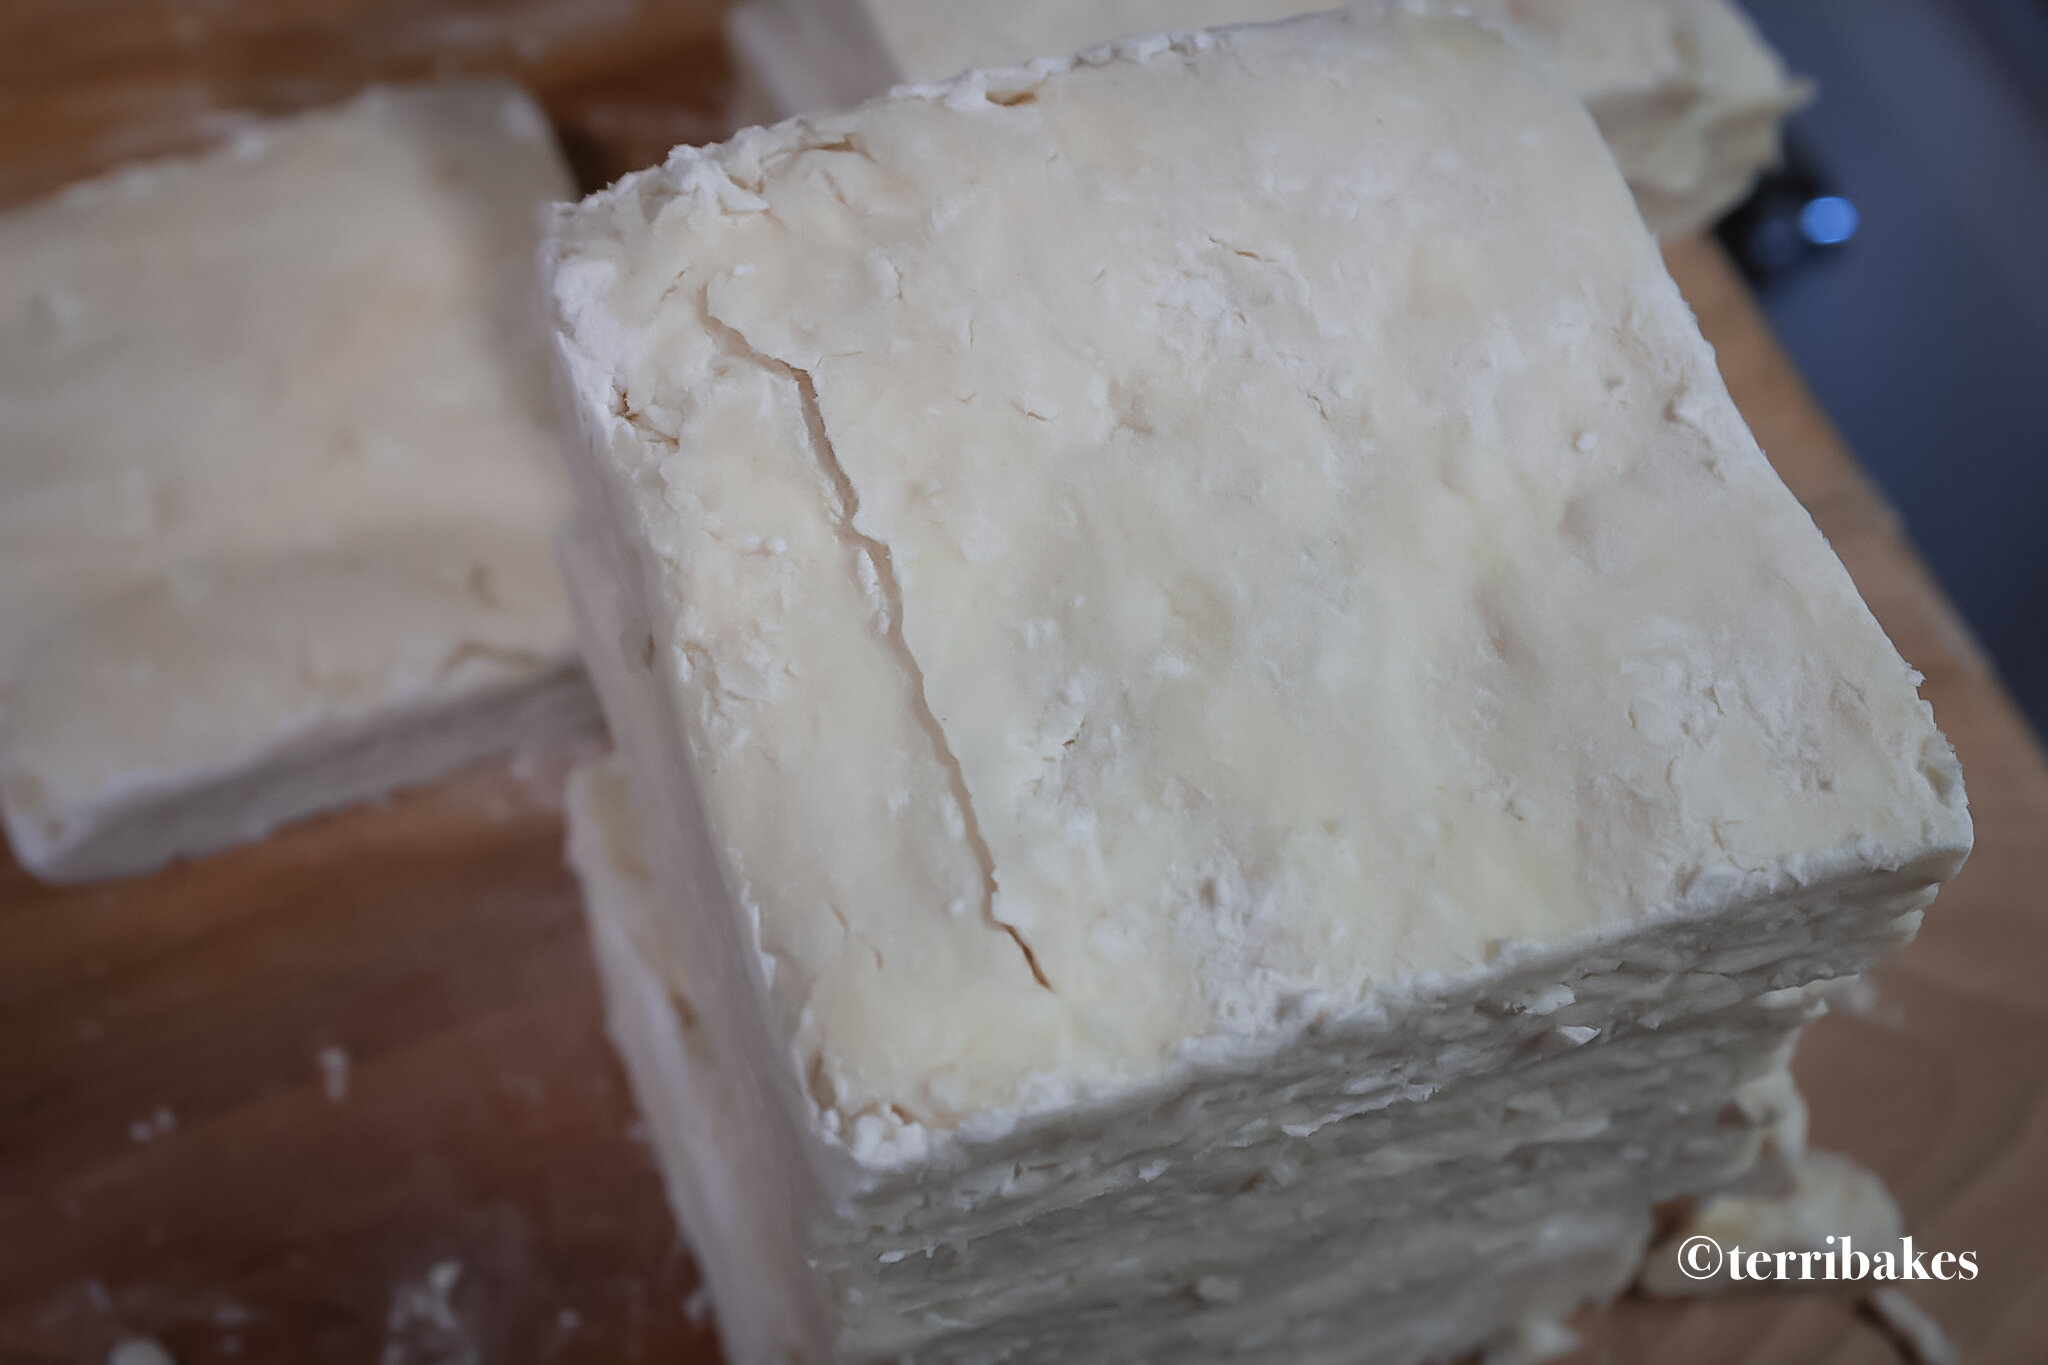
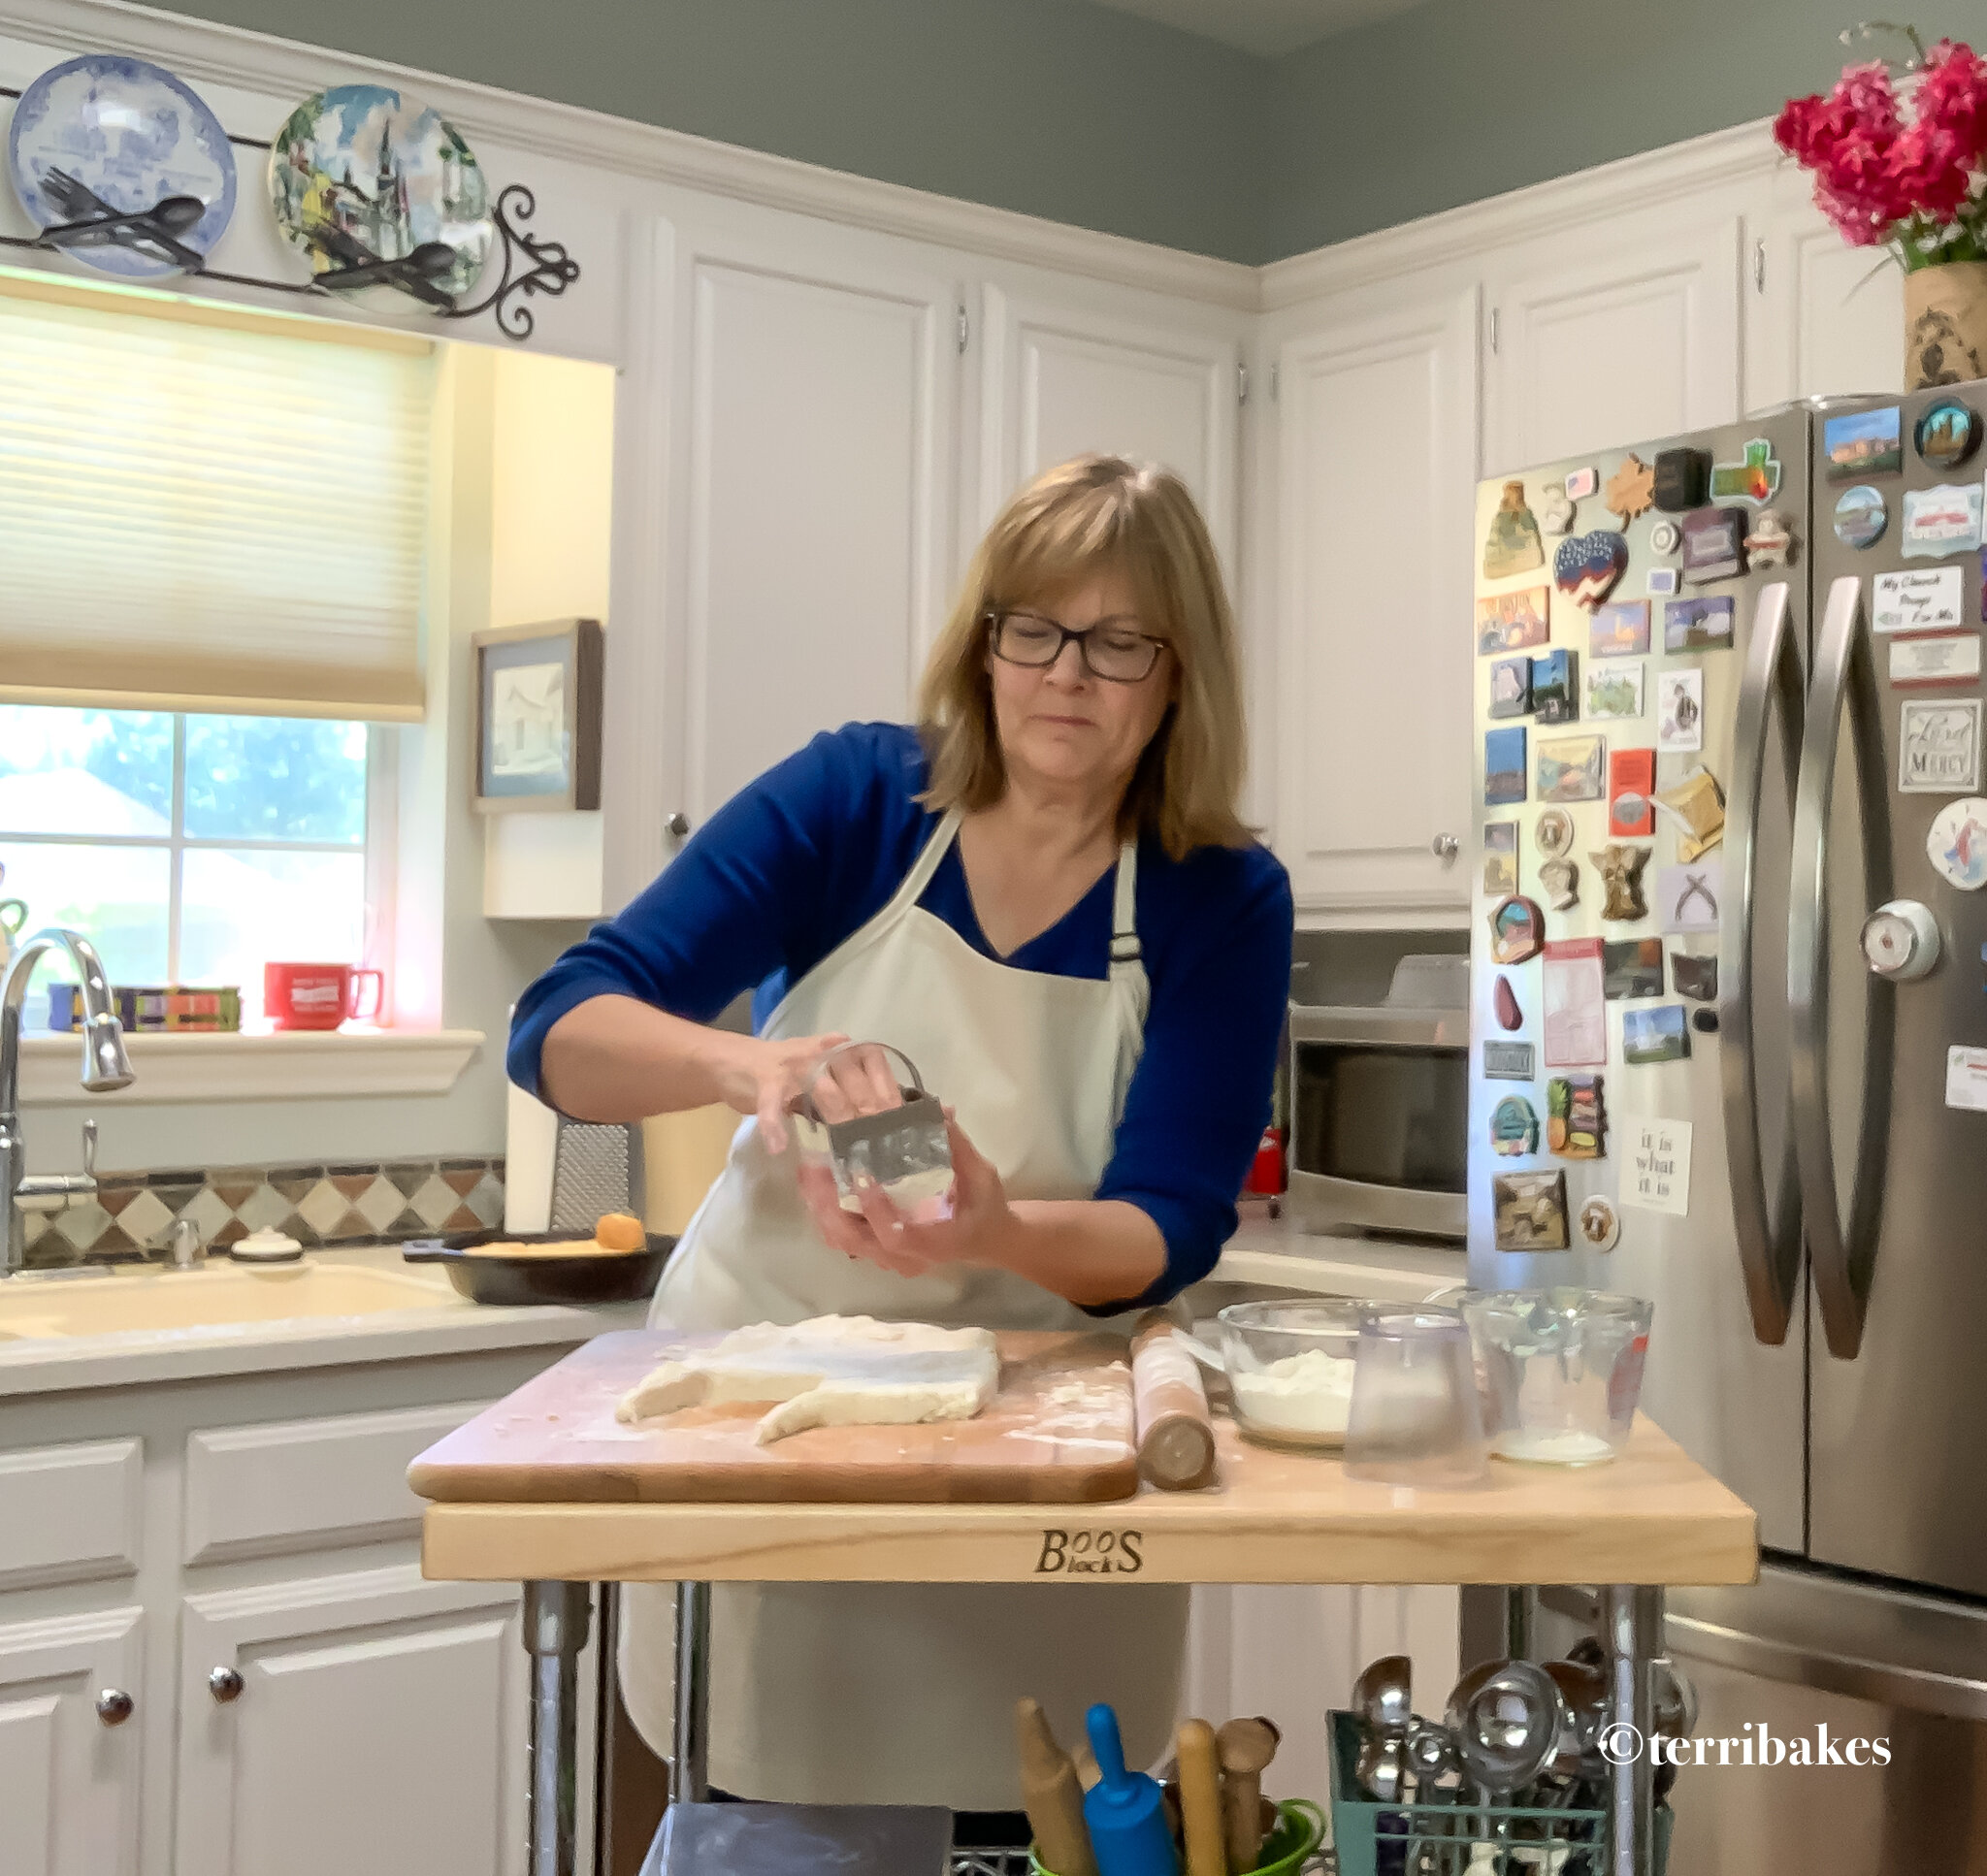
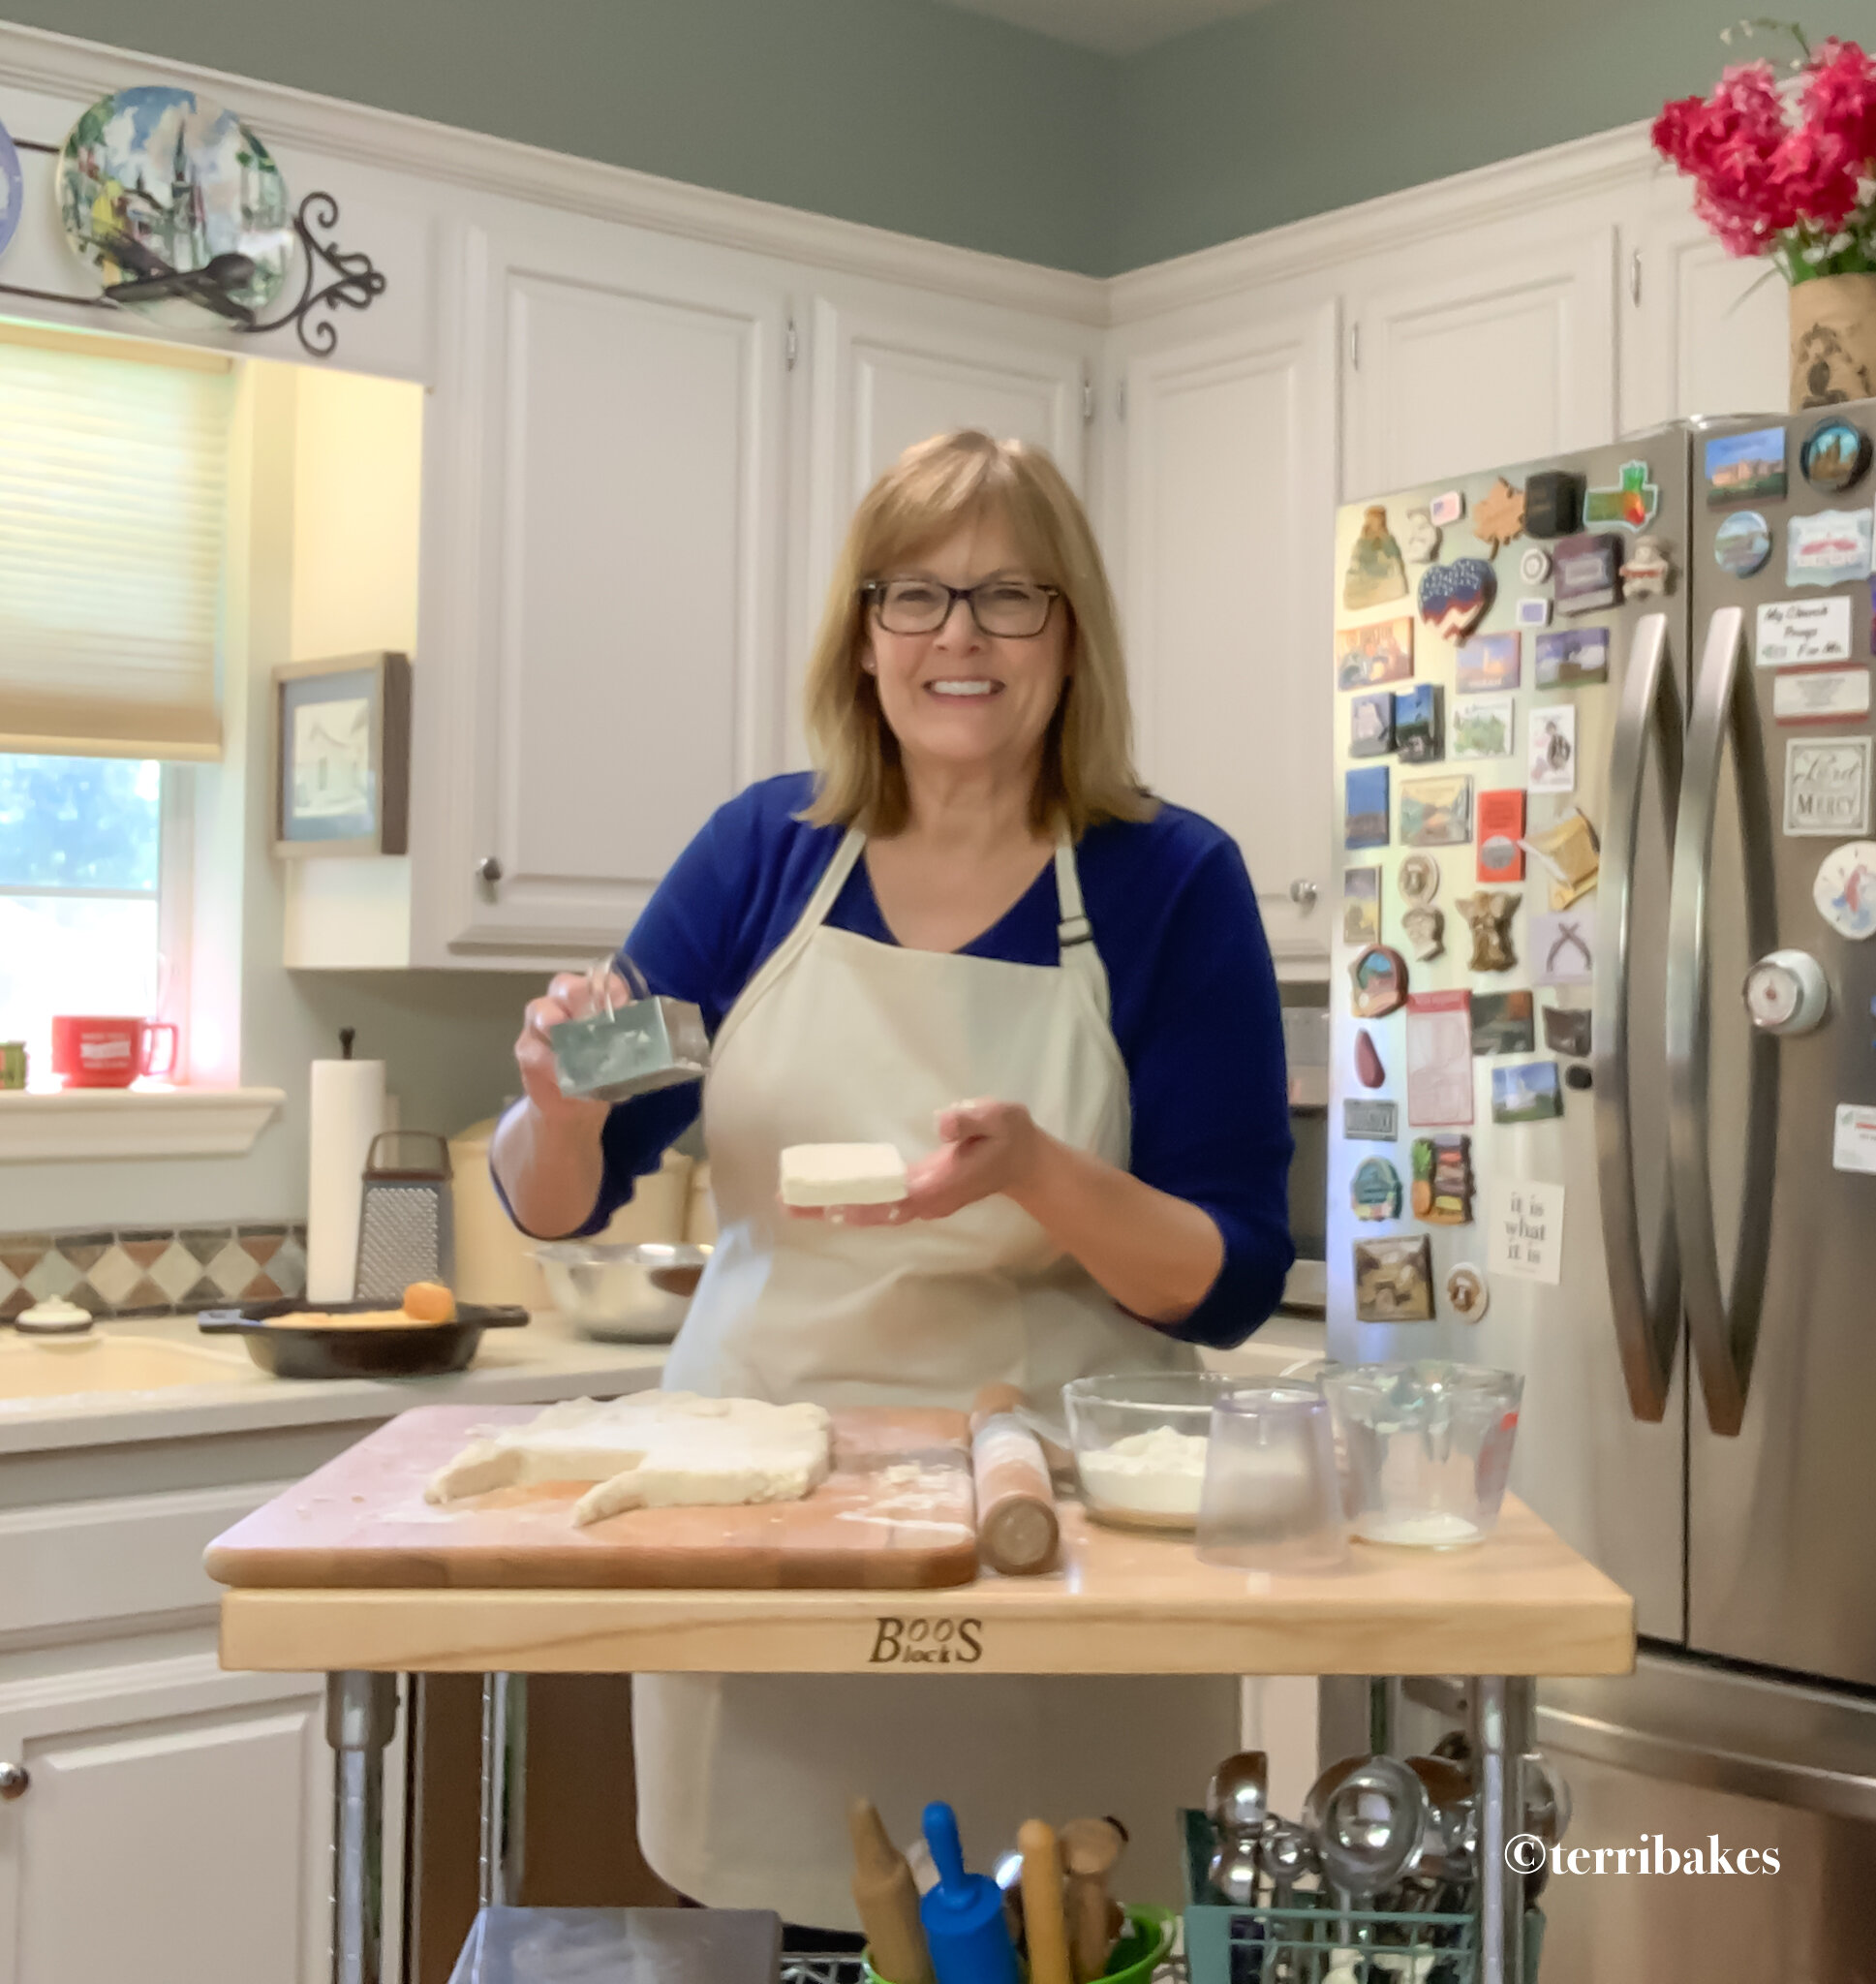
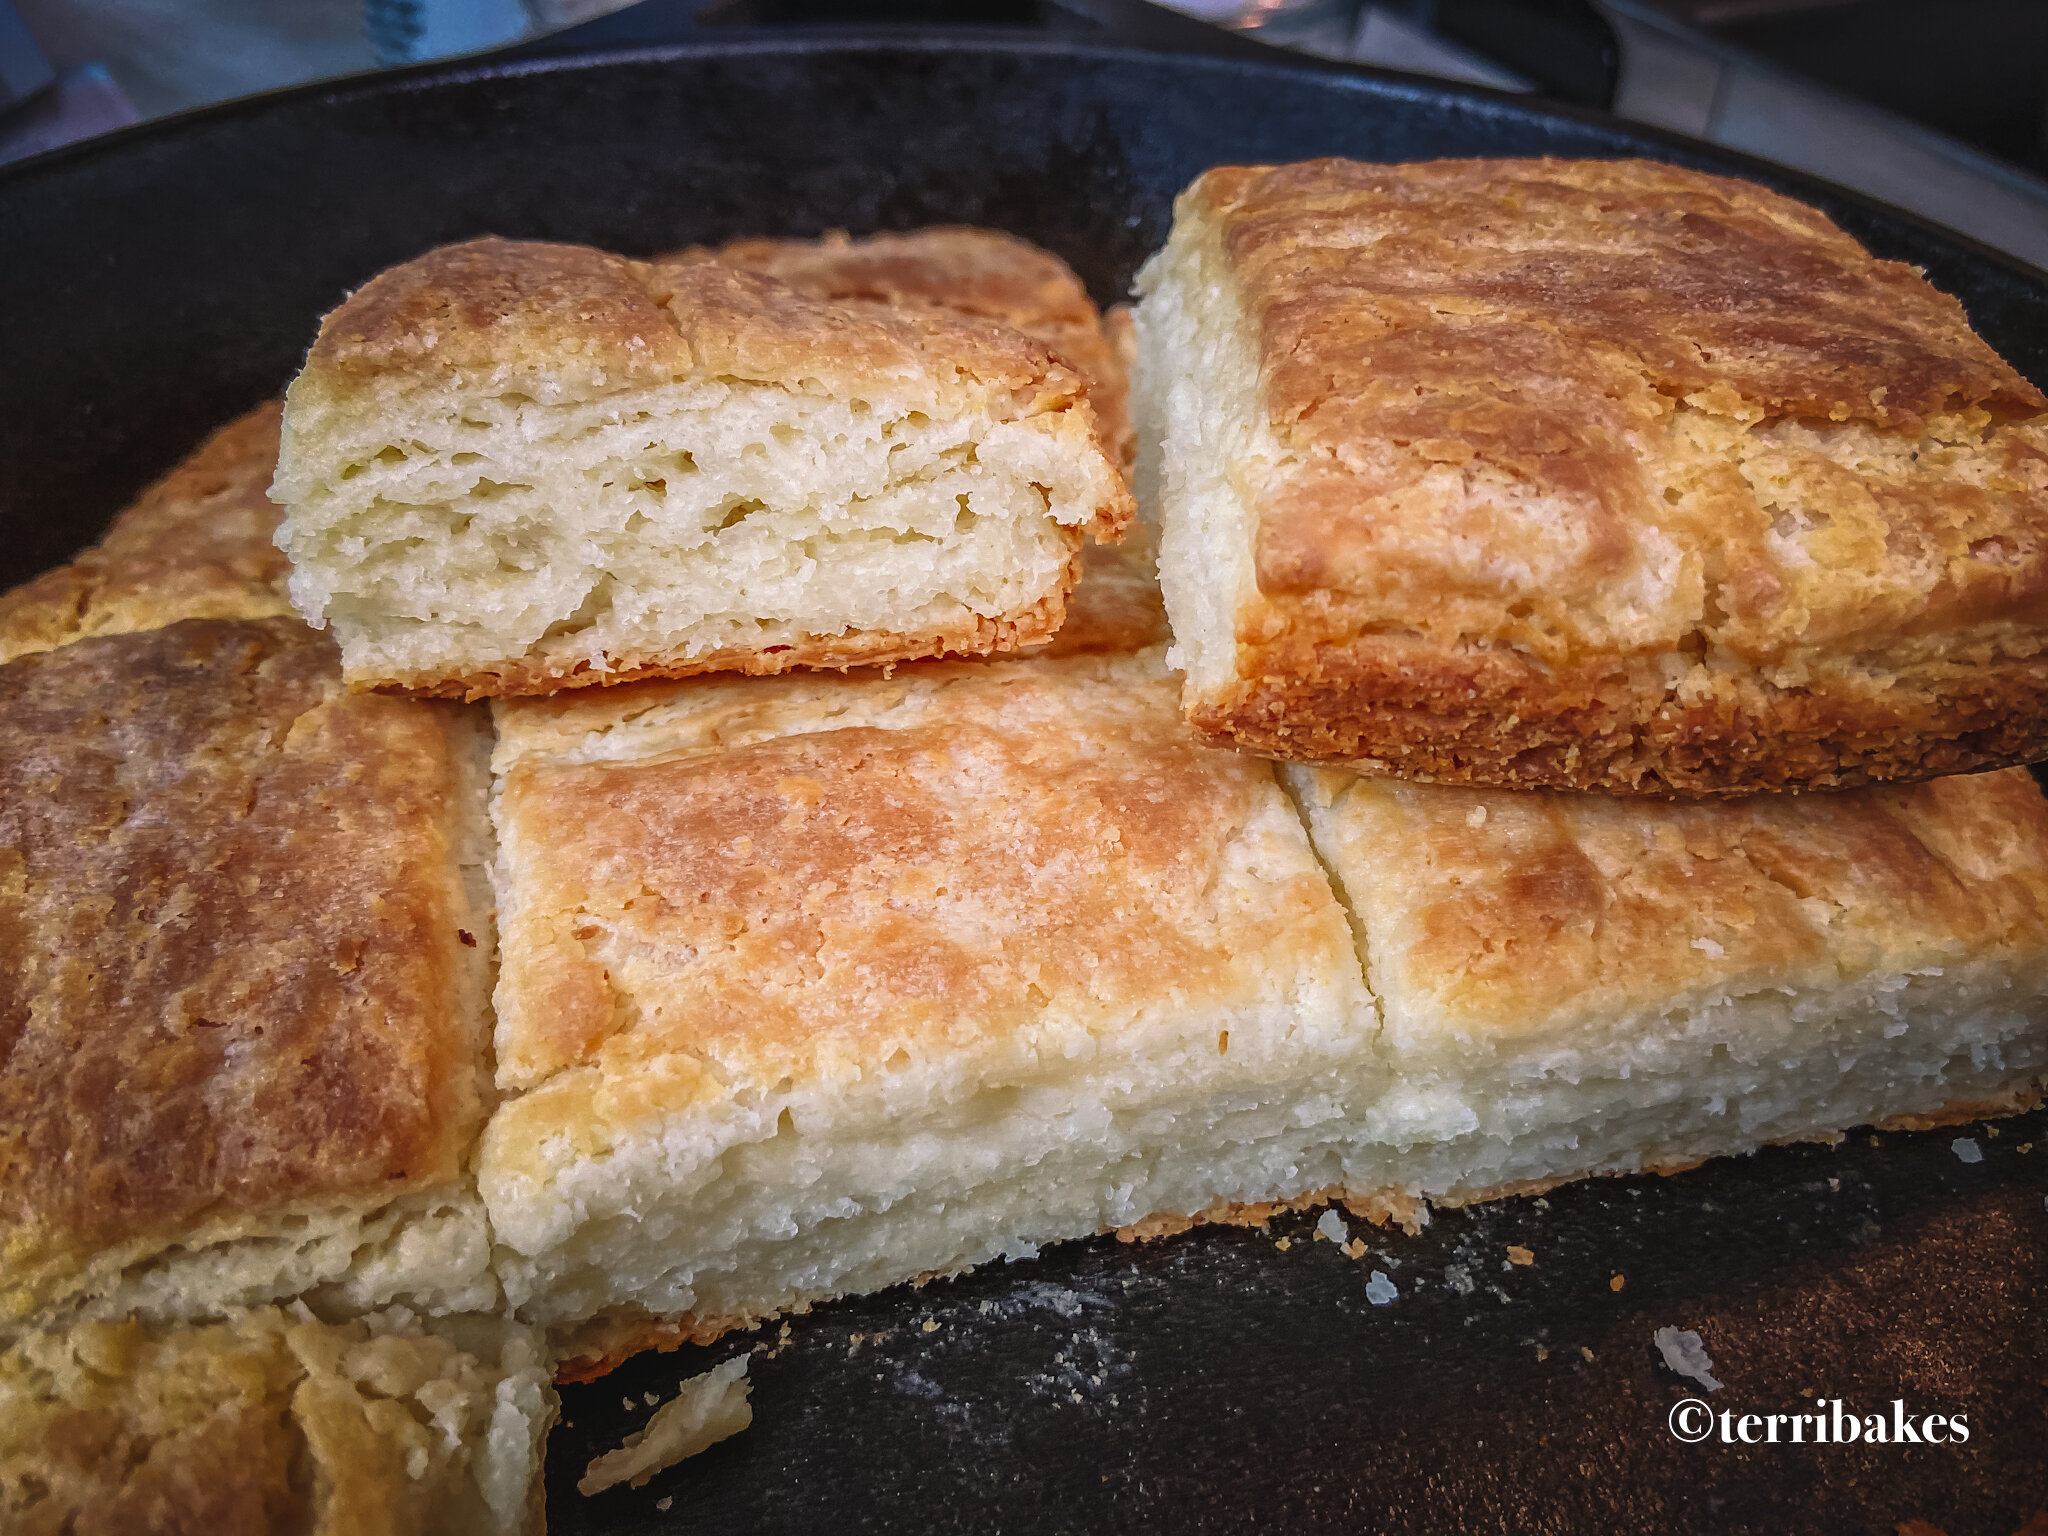
Now, the key to any great biscuit is to not overwork your dough. You'll see here I'm just folding it over. And then I can put a little roll on to it. Just very gently. Another great tip, keep your cutter floured. And one mistake a lot of biscuit makers make is they twist the cutter. You don't wanna do that. You work very hard to create these layers. With improvements made on cooking ingredients and techniques, biscuits are one of the easiest things to whip up. They were and always will be a Southern delicacy. And you can find them on any table for any meal of the day.
BUTTERMILK BISCUIT RECIPE
MAKES ABOUT 6
INGREDIENTS
3 cups self-rising flour
3/4 cup cold unsalted butter
1 cup whole buttermilk, chilled
Butter or oil for skillet
METHOD
Preheat oven to 450 degrees.
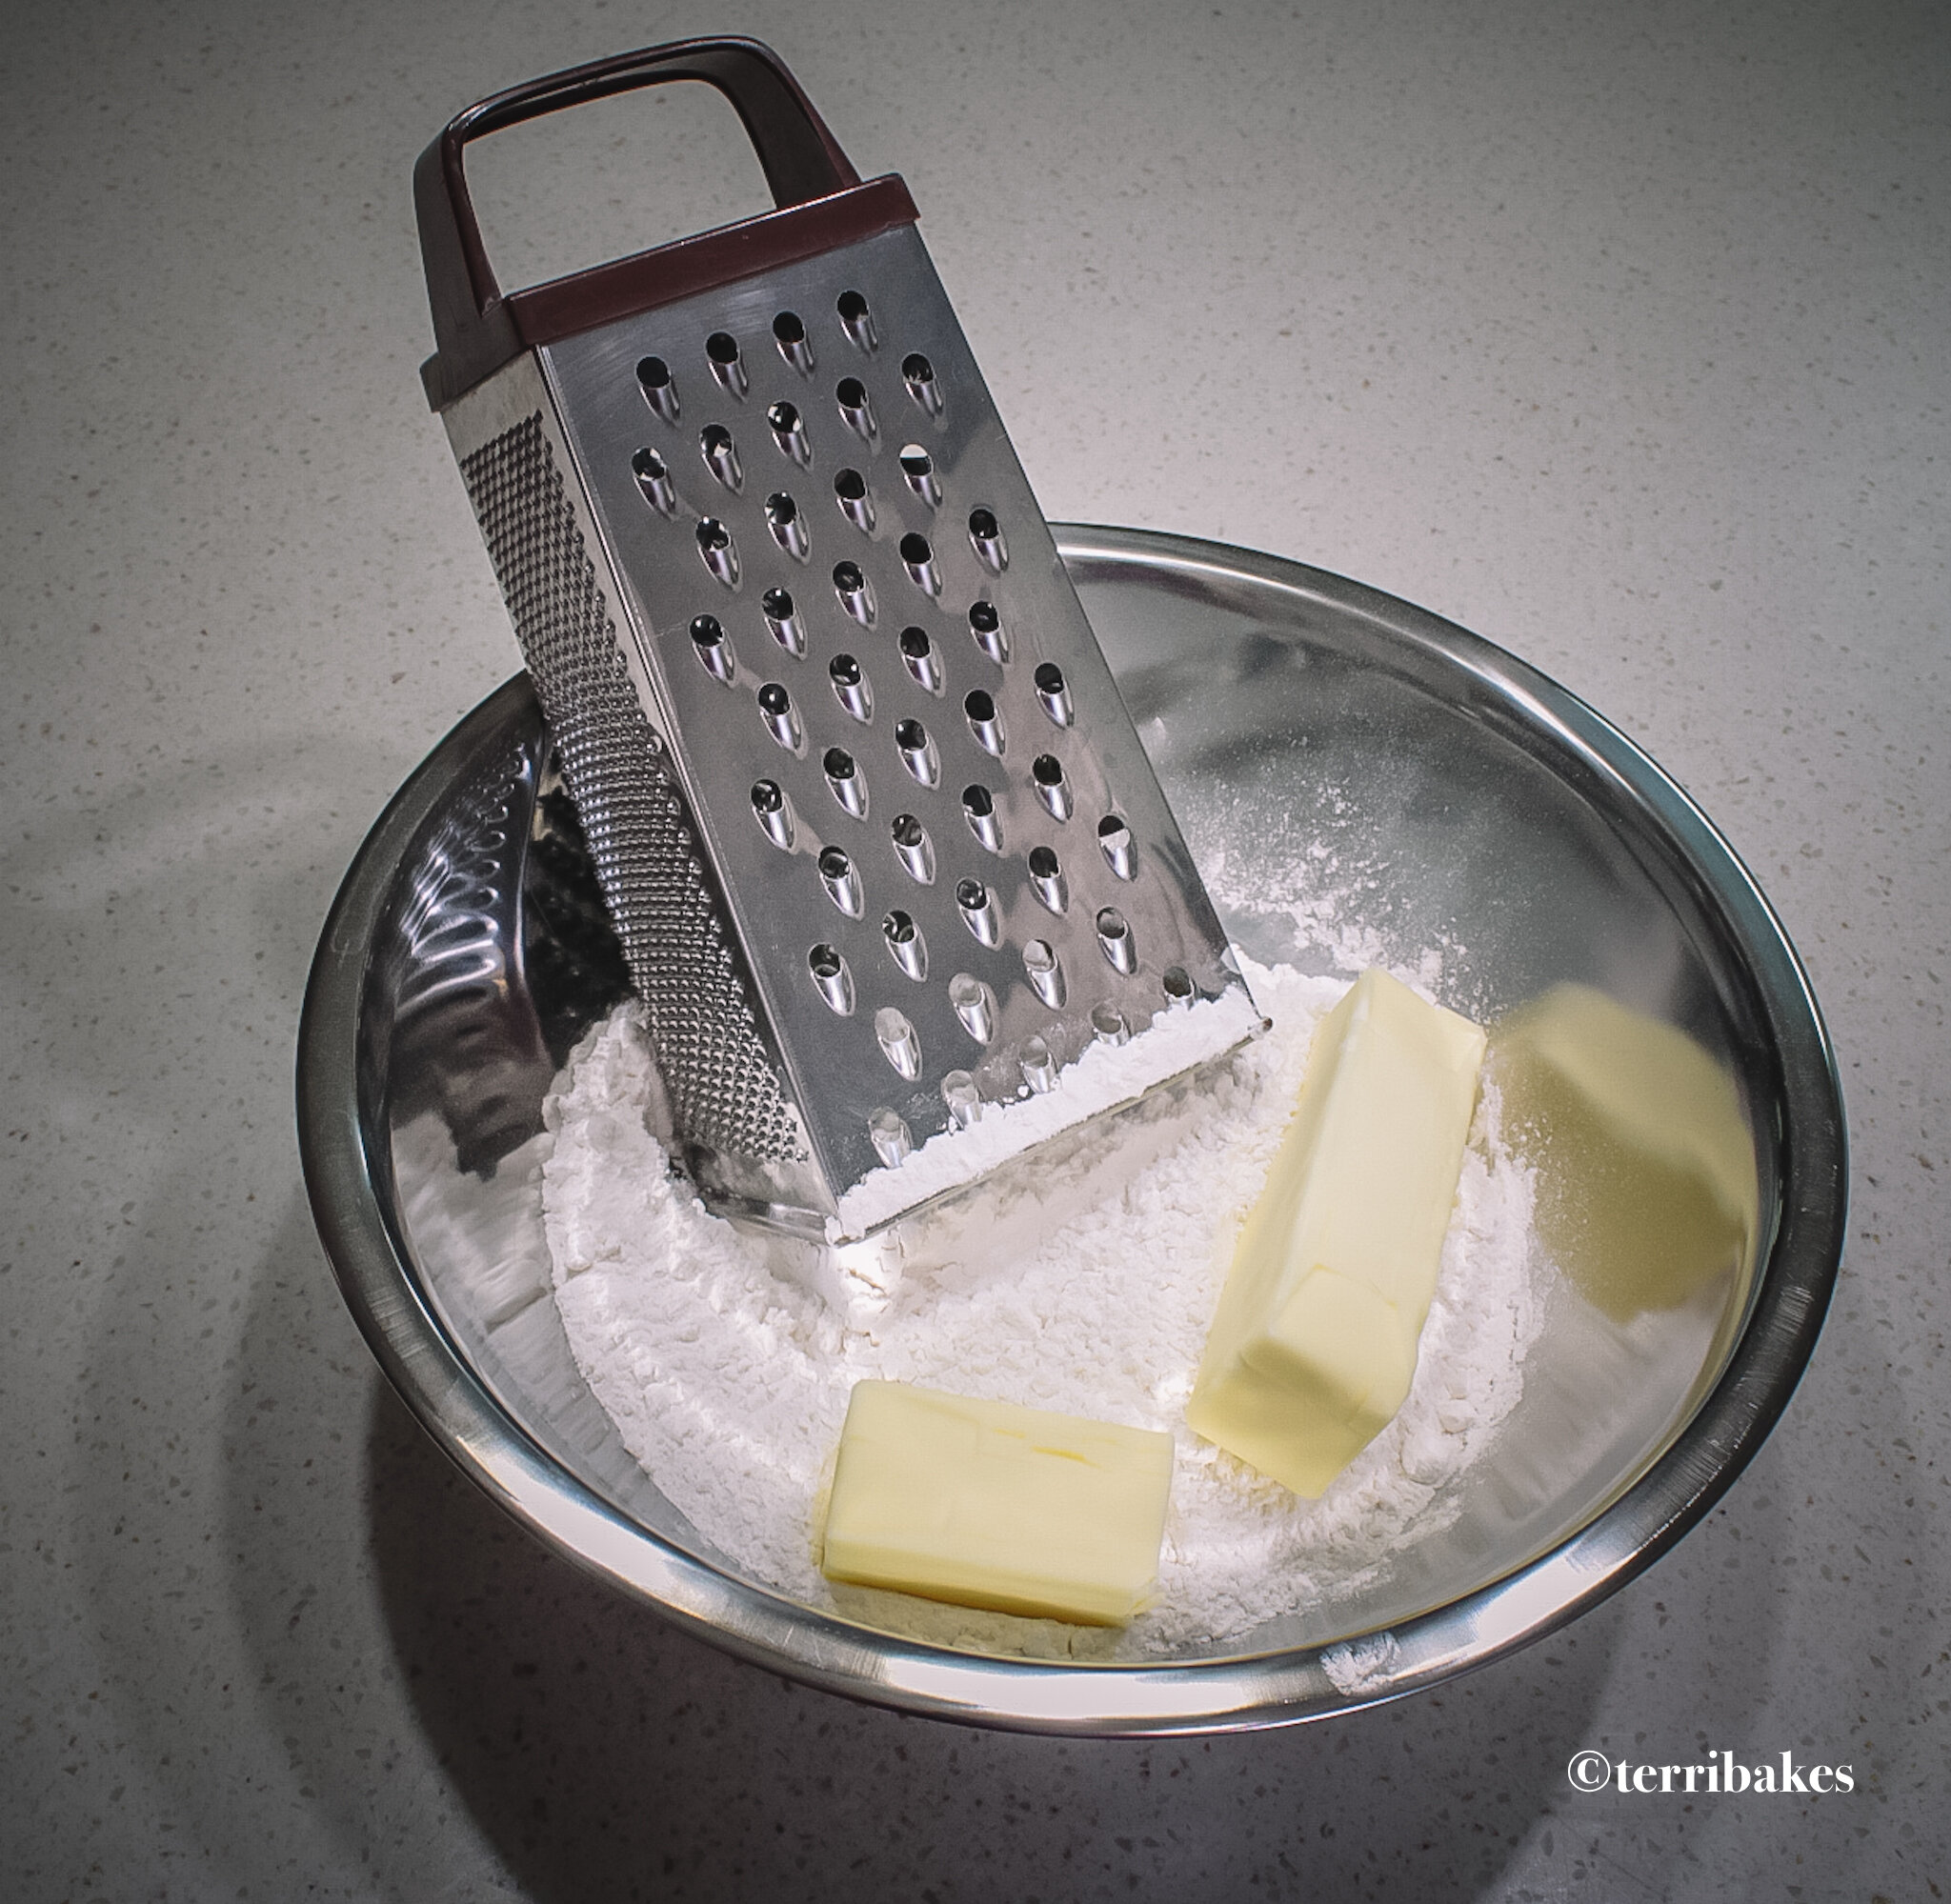
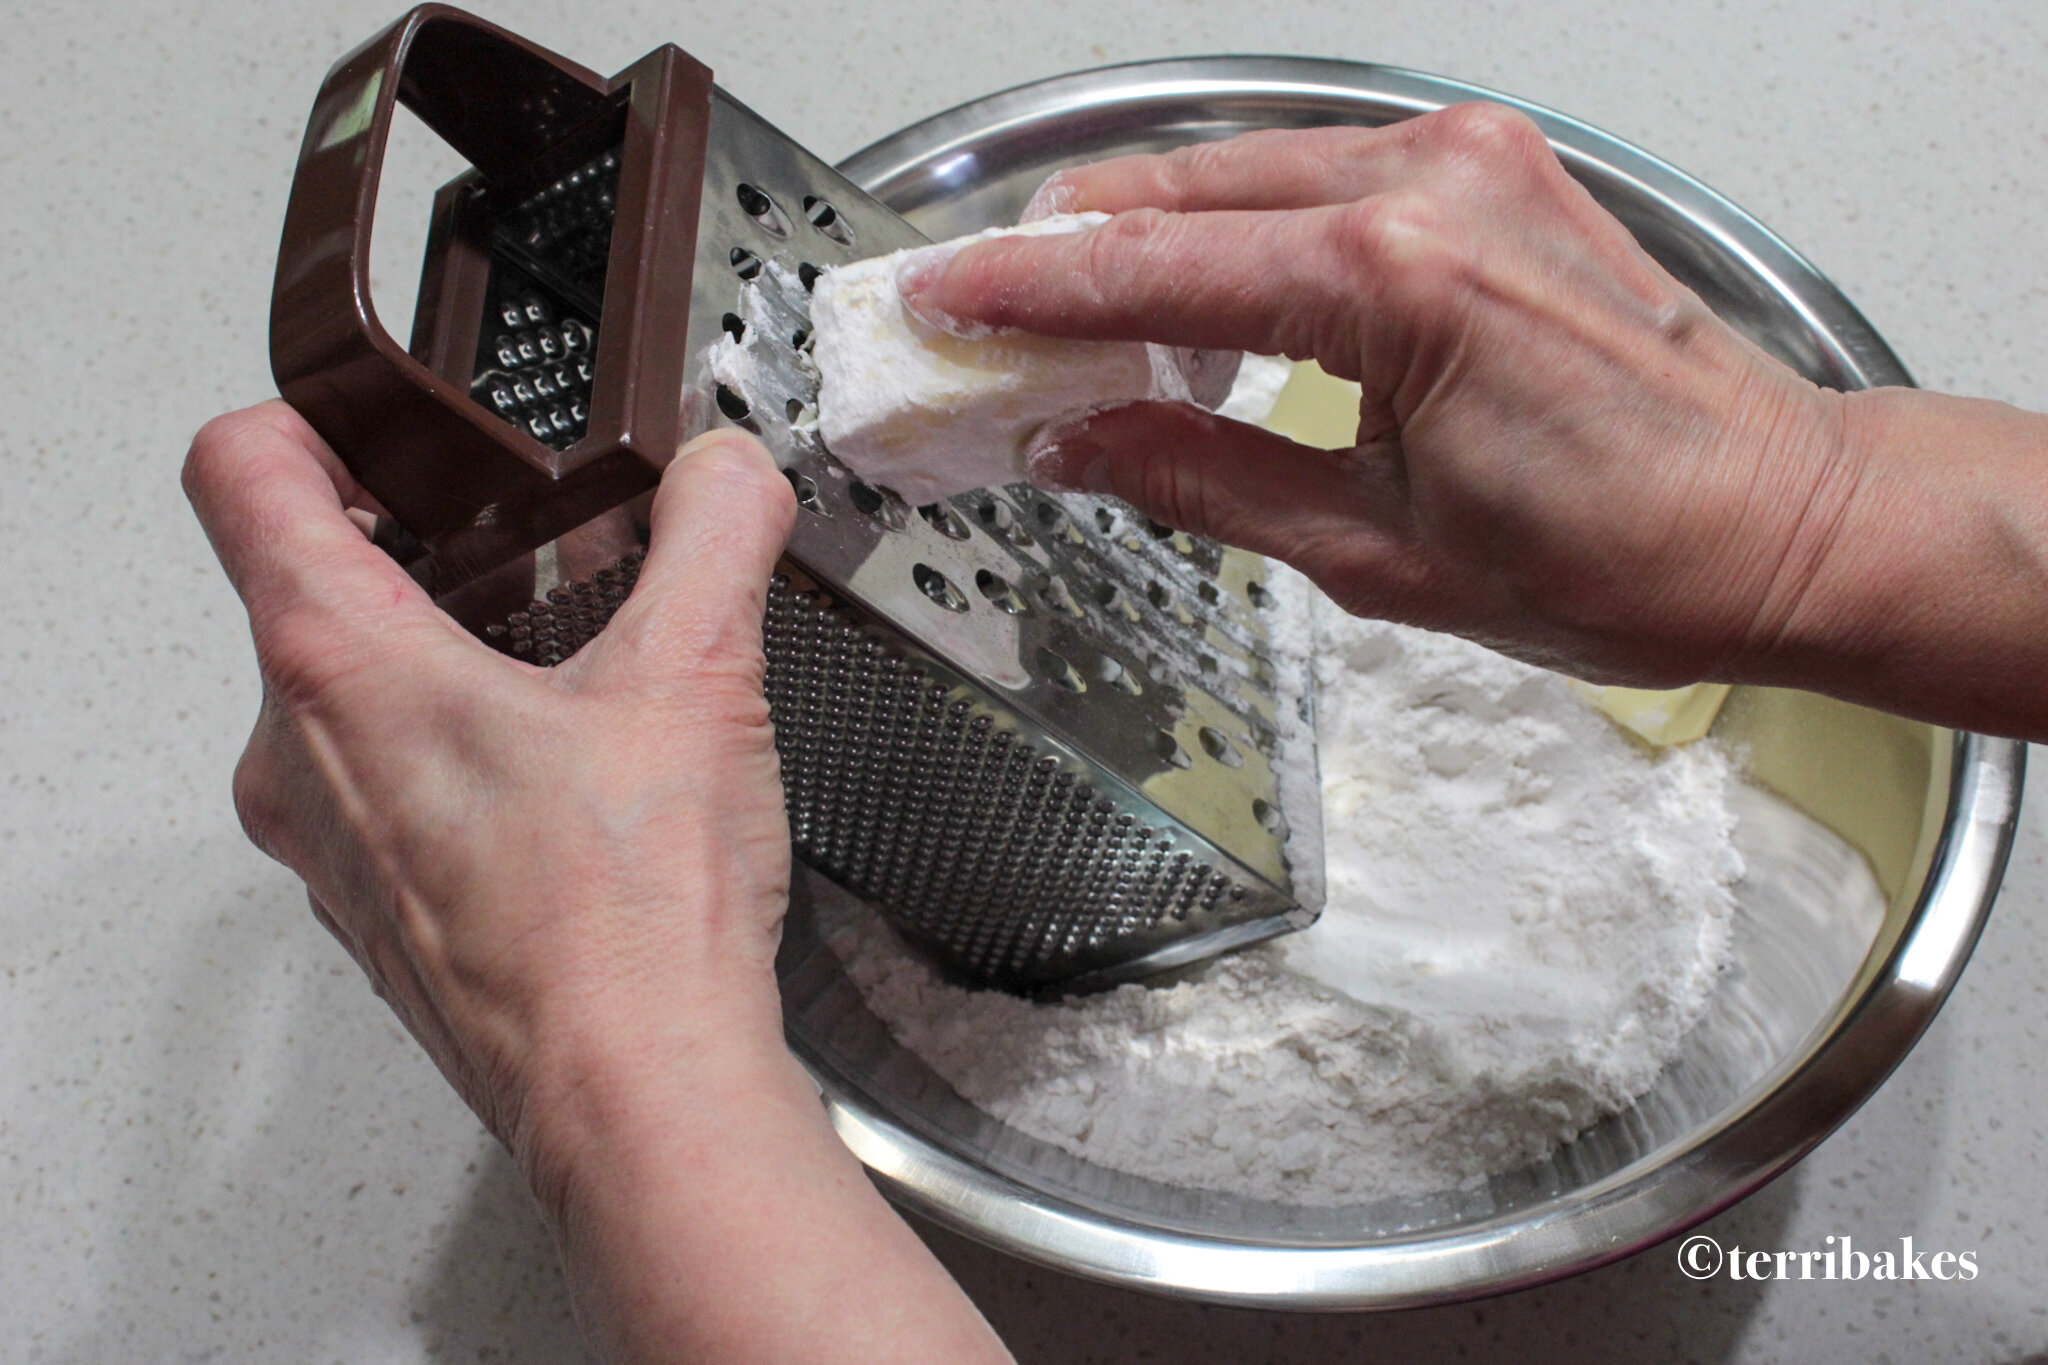
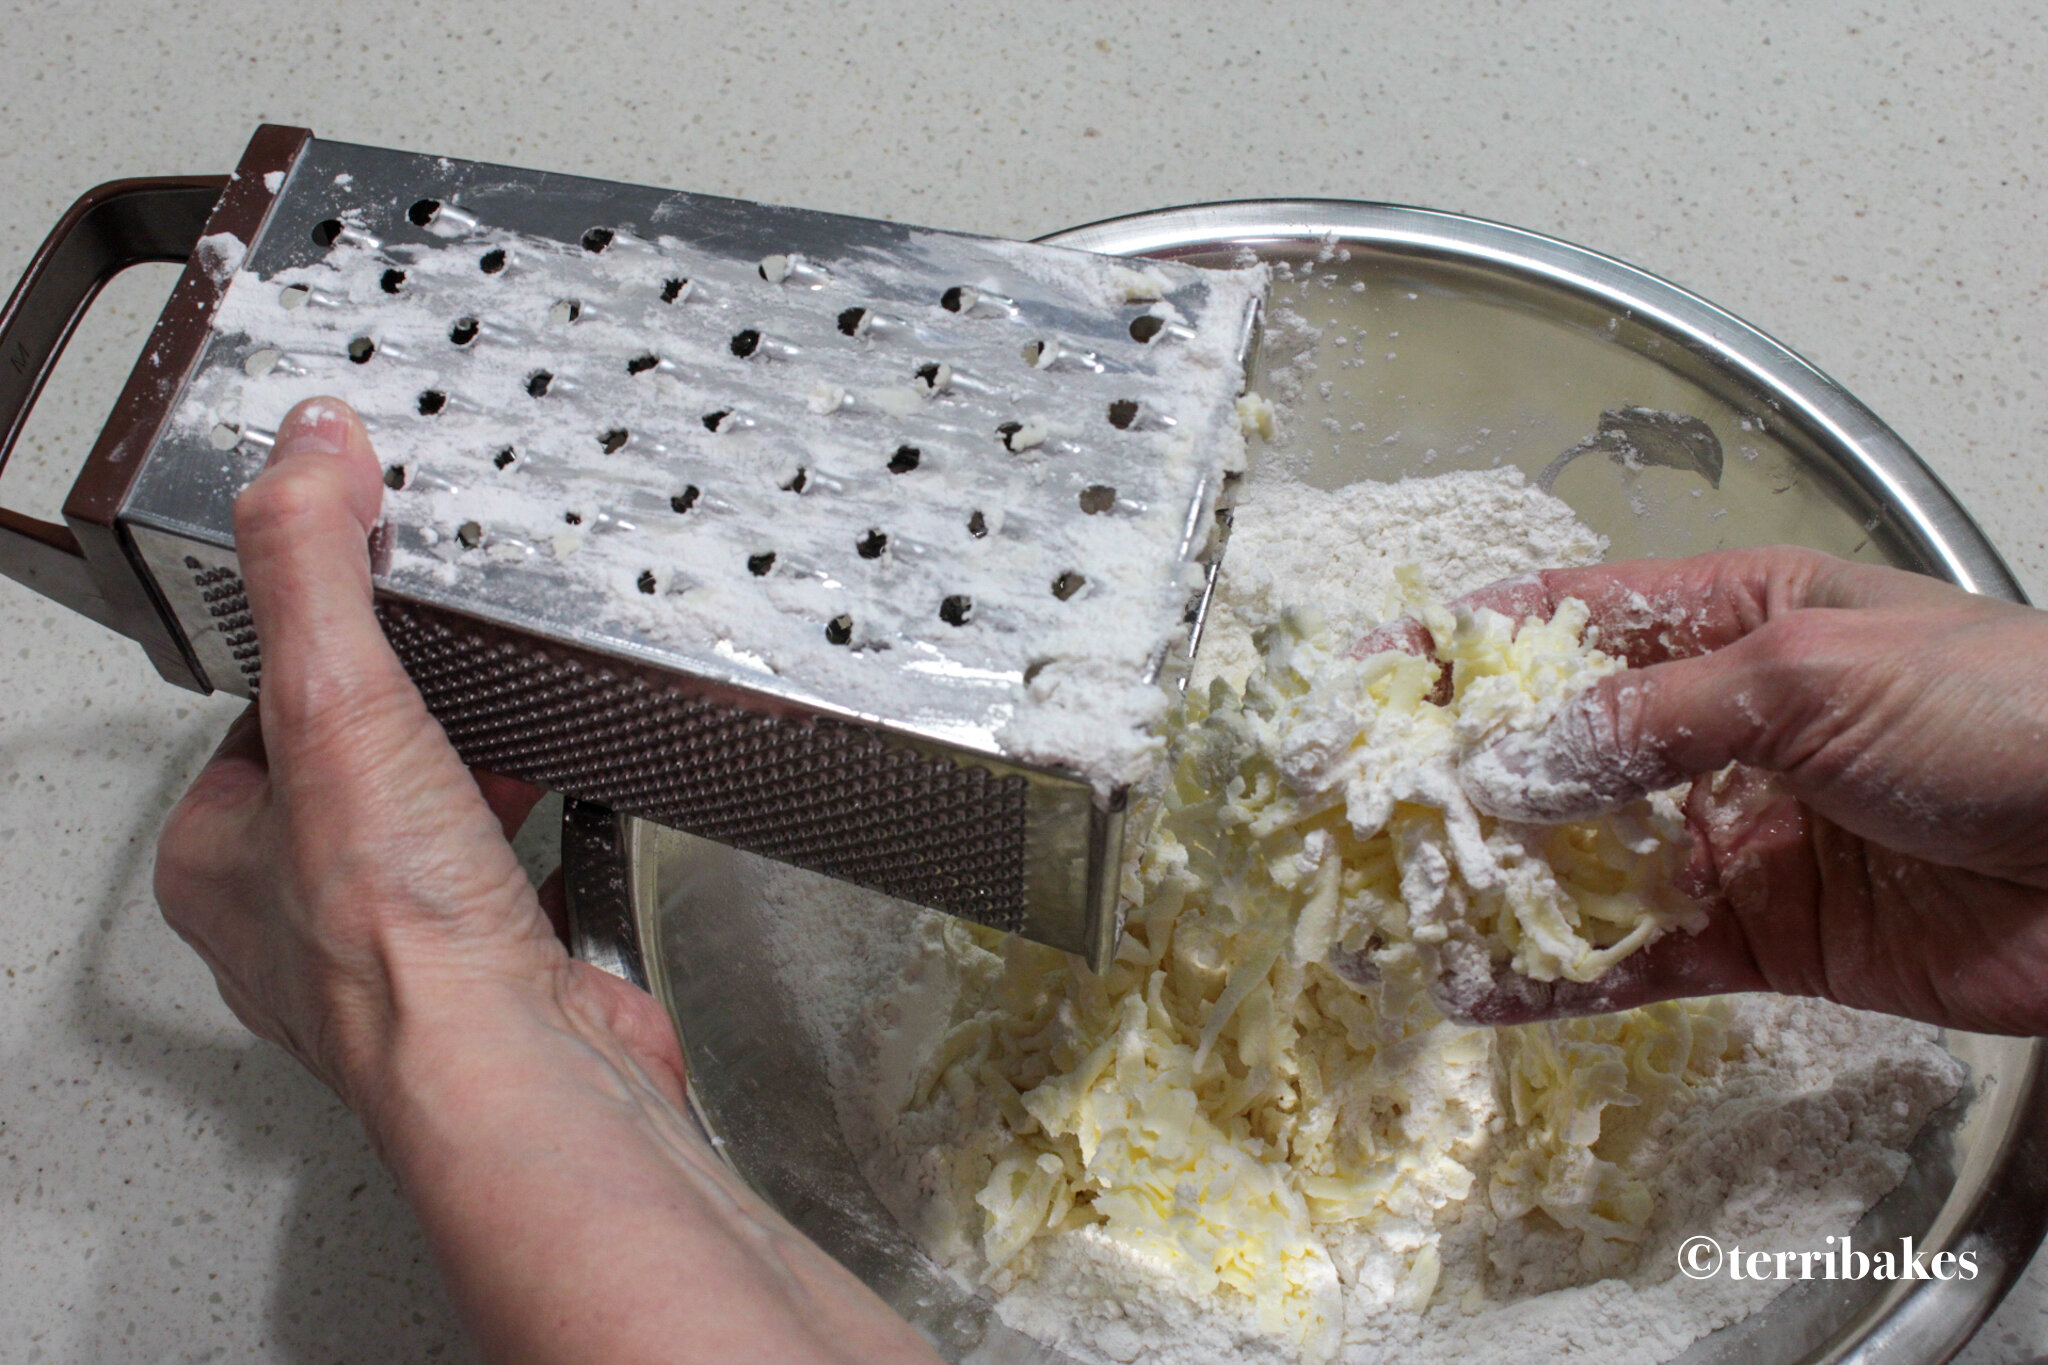
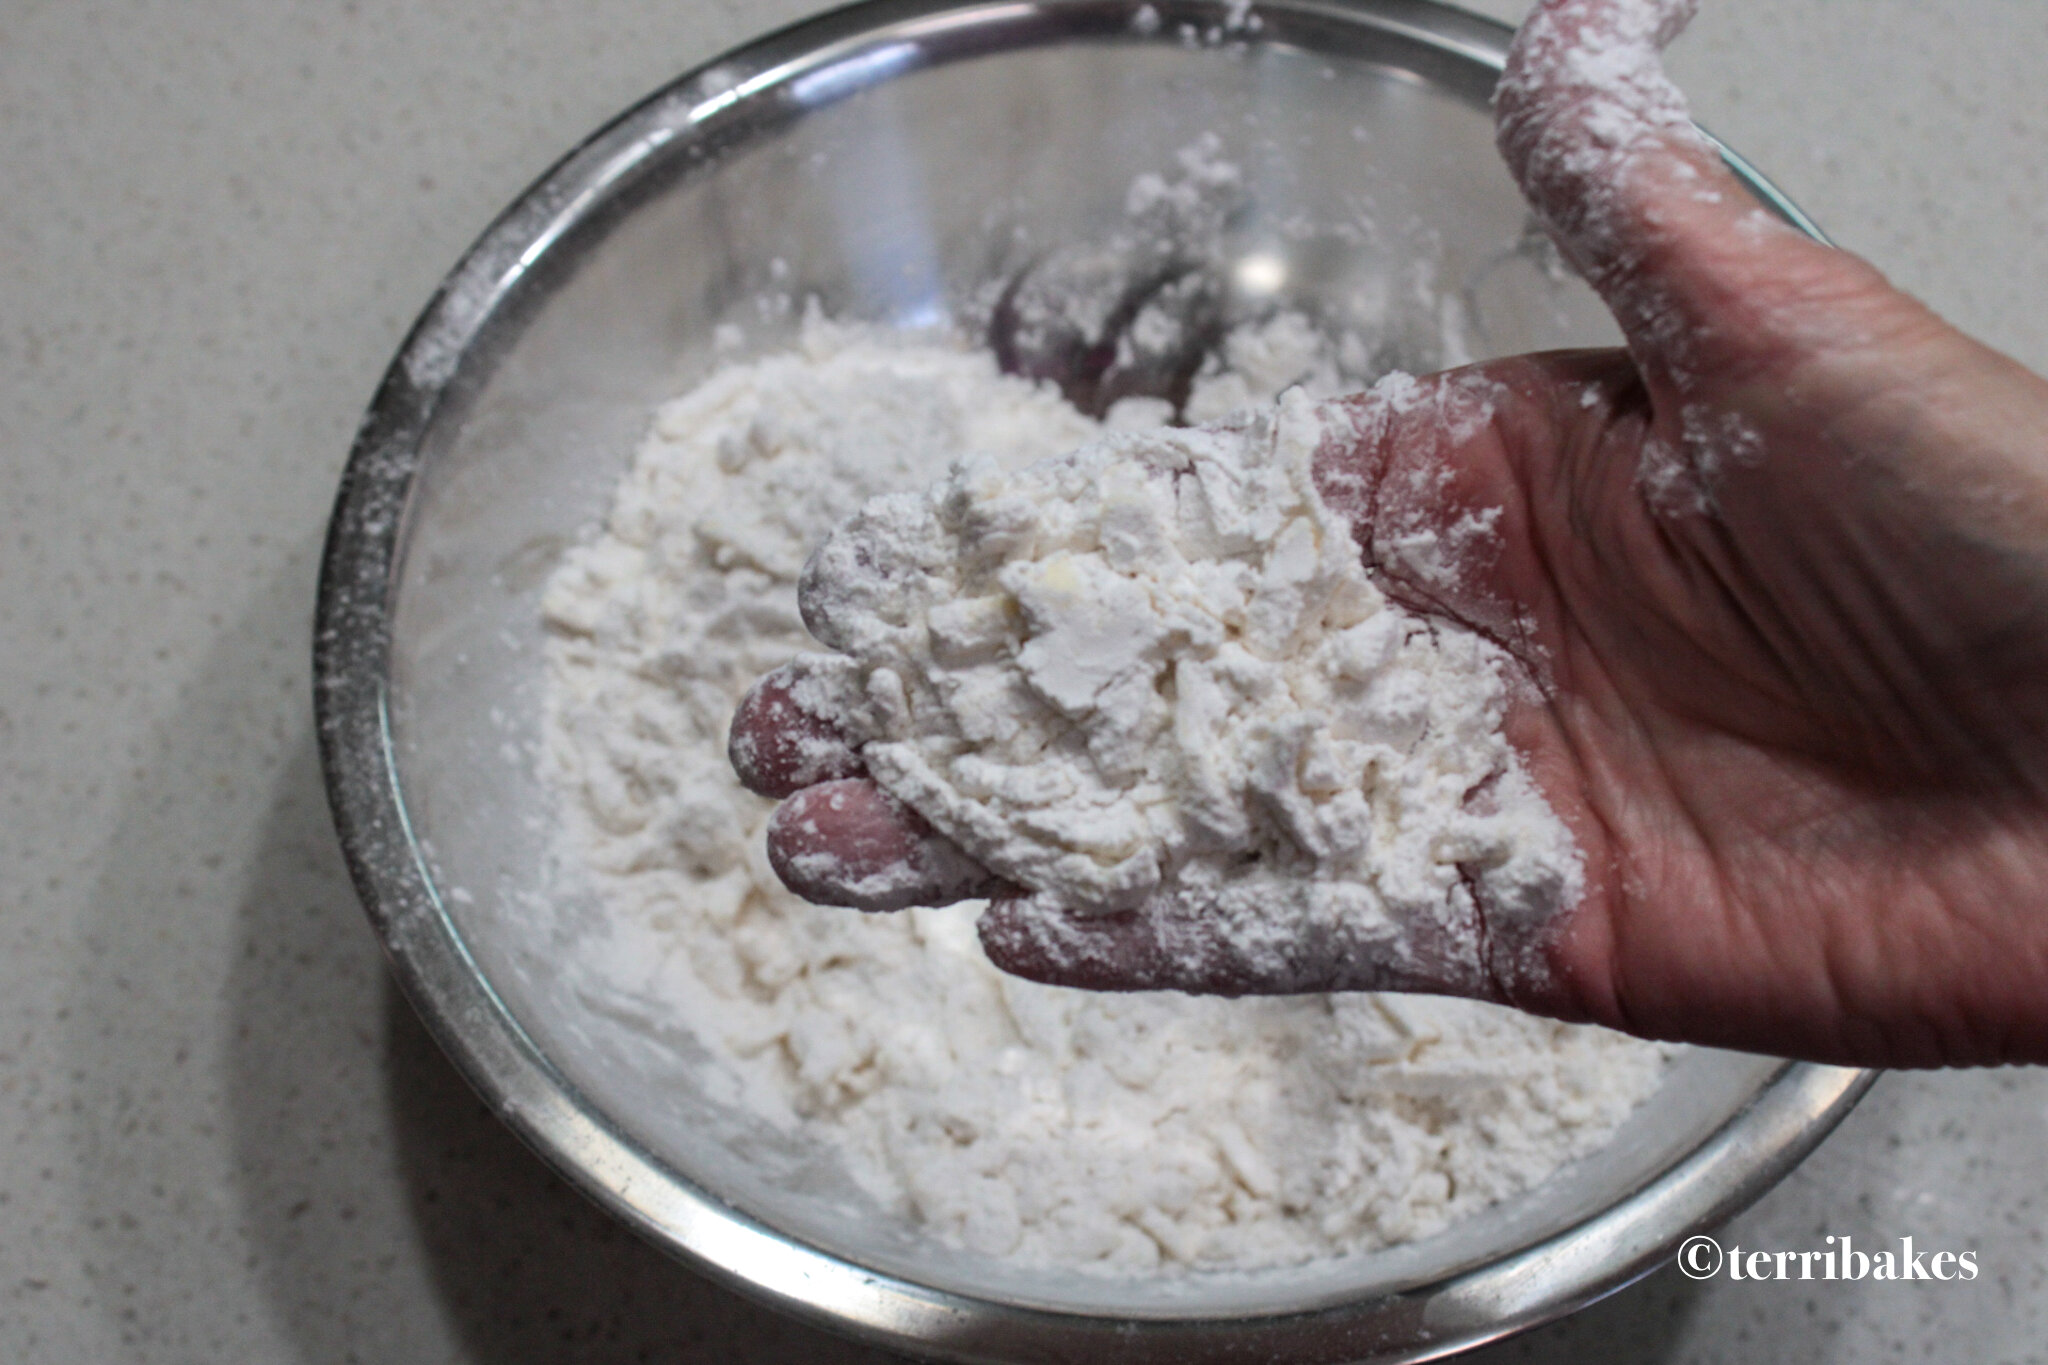
In a large bowl, place flour. Using a box grater, grate the cold butter using the largest grates directly into bowl with flour. Gradually add buttermilk, stirring just until dry ingredients are moistened.
On a lightly floured surface, gently knead dough about 4 times. Roll dough about 3/4 inch or 2 fingers width thick. Fold dough in half. Using a 3 inch round cutter, cut dough rerolling scraps once.
Wipe down bottom and sides of an 8-inch cast iron skillet with oil or butter. Place pan in oven until very hot, about 5 minutes. Place biscuits in hot pan, overlapping slightly if needed.
Bake until golden brown, about 15 minutes. Let cool in pan for 5 minutes.
BAKERS NOTE: Buttermilk and Self-Rising Flour
There are a number of substitutes for buttermilk in baking. For each cup of buttermilk, you can use 1 tablespoon of white vinegar or lemon juice plus enough milk to measure 1 cup. Stir, then let stand for 5 minutes. You can also use 1 cup of plain yogurt or 1-3/4 teaspoons cream of tartar plus 1 cup milk.
Self-rising flour is flour with the baking powder and a bit of salt already added. It's a staple in many Southern recipes; it's traditionally made from a softer, lower protein version of all-purpose flour, which is what grows here. The blend is typically comprised of 1 cup of all-purpose flour plus 1 1/2 teaspoons baking powder and 1/4 teaspoon fine salt.
Self-rising flour has a slightly shorter shelf-life than regular flour because being exposed to the flour, salt, and air, the baking powder begins to lose its effectiveness. Mix up self-rising flour in smaller batches and store it in an airtight container in a cool, dark place. Whether I buy self-rising flour or make my own, I always label the jar with the date it was made or purchased, and plan to use it within a year.
